 by
by ![Troubleshooting Gigabyte Motherboard LED Error Codes [Quick Fixes]](https://www.cgdirector.com/wp-content/uploads/media/2023/06/Troubleshooting-Gigabyte-Motherboard-LED-Error-Codes-Everything-Yo-Twitter-1200x675.jpg "Troubleshooting Gigabyte Motherboard LED Error Codes [Quick Fixes]")
TABLE OF CONTENTS
Is your GIGABYTE motherboard throwing strange error codes at you? Worried that your PC might explode? Don’t panic!
These are called motherboard error codes and they’re designed to help you diagnose issues and get your PC up and running again in the case of some failure.
In this article, I’ll explore why you might be seeing them and then help you figure out how to solve the most common error codes that your motherboard might throw at you!
What Are Motherboard Error/POST/Beep Codes?
When you power on your computer, your motherboard goes through a series of tests to make sure that every component connected to it is working properly.
These tests are called POST or Power-On Self Tests.
Your motherboard systematically goes through every component to see if there’s anything wrong and then sends out a code in the form of beeps or LED lights to notify you of any issue.
Think of it like the check engine light in your car.
Getting one of these codes can be frustrating, but they make troubleshooting hardware issues so much easier.
Instead of pulling stuff out randomly and hoping that it somehow starts working, you can simply follow the POST code to figure out what the exact issue might be!
What Are GIGABYTE LED Debug Codes?
GIGABYTE LED debug codes are a handy feature available in some higher-end GIGABYTE motherboards.
It’s basically a small LED display that is usually located near the 24-pin ATX power connector—the display is often labeled as “Debug_LED” or something of the sort.
When your motherboard is powered on, you’ll most likely see some codes flashing on the LED display. This isn’t inherently a cause for concern! Not all of the codes are error codes.
Some are just there to show that everything is running as it should or that it’s finished with all the checks—codes like “AA” or “AF” indicate a successful boot sequence.
It’s unfortunate that LED debug codes aren’t a mainstay in more motherboards.
They’re a very useful tool when it comes to troubleshooting, and are much better than having to count beeps one by one like you’re trying to decipher Morse code.
Where Do I Find All the GIGABYTE Debug Codes for My Motherboard?
The best way to find all the debug codes for any motherboard is to reference its manual. The manual is the most likely place to have all the available codes.
If you for some reason don’t have access to your manual, don’t fret. GIGABYTE, and any other manufacturer for that matter, provides free access to manuals on their website.
Simply search for your motherboard model and download the manual. You’ll get a PDF, and in it, you will usually find the codes toward the very end of the manual.
On the off chance that the manual doesn’t help, the best course of action is to try and get help from online forums such as r/buildapc or our very own forum!
The Most Common GIGABYTE Debug Codes and What They Mean
00 – Not Used
Code 00 is an annoying one to figure out because of how vague it is. Generally, it pops up when your CPU is facing some sort of issue.
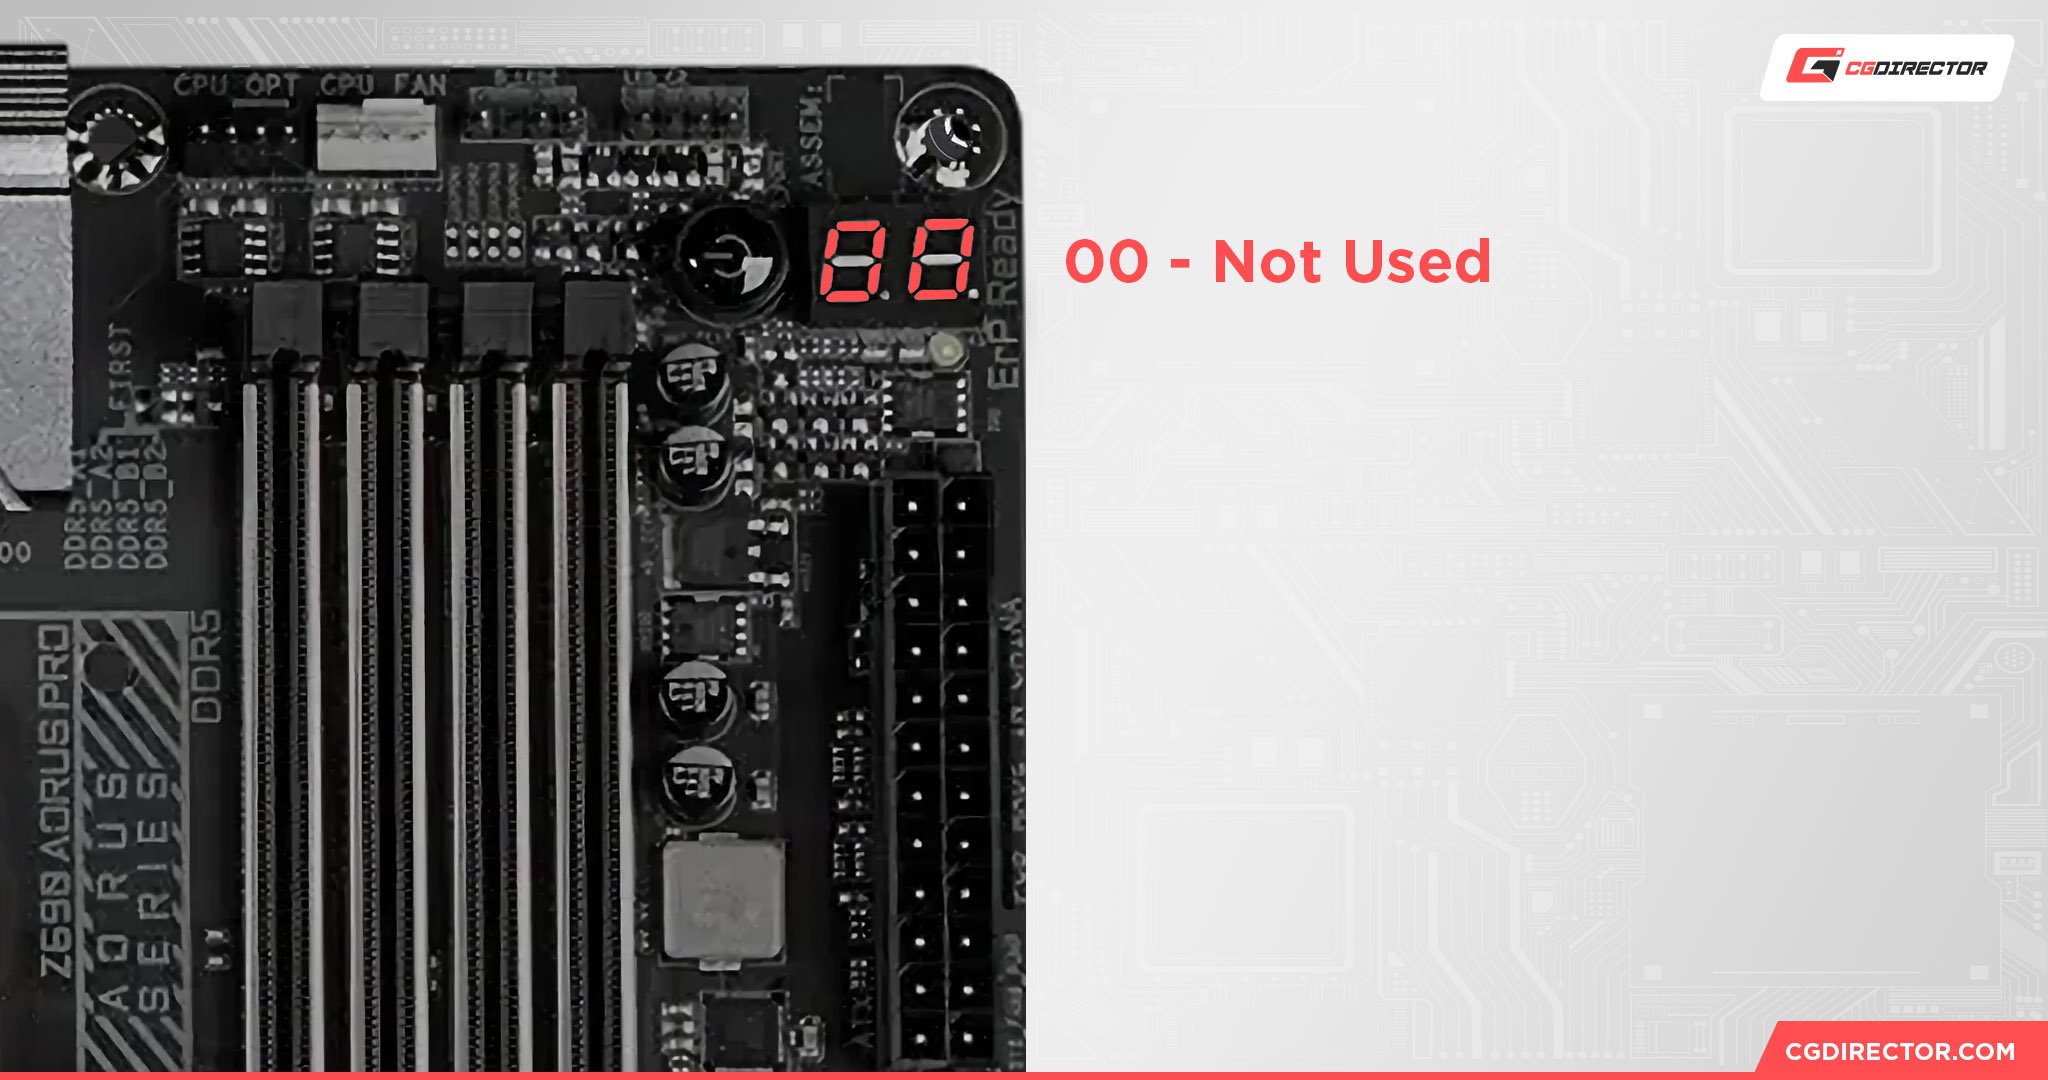
Everything from a faulty CPU, bent pins, or a dusty socket could cause this error to show.
So, the first course of action I’d suggest is to reseat your CPU and see if there are any physical defects with either the CPU or the socket.
If that doesn’t work, try testing out your CPU with a different motherboard to see if your CPU really is the issue here.
If that’s not possible for you to do, the best thing to do is to systematically disconnect and reconnect the other components that are connected to your motherboard, like the RAM, GPU, PSU, etc., to see if they’re causing the issue—the 24-pin or the 8-pin CPU power cable especially could be the culprit.
If you’re 100% sure that the motherboard is the point of failure, then RMA-ing it is the best course of action. However, if your motherboard is out of the RMA range, then the only other option is to bring it to a professional hardware technician.
50 – 54 – Memory Initialization Errors
These error codes typically appear when your computer’s BIOS is unable to initialize the system memory during the boot process.
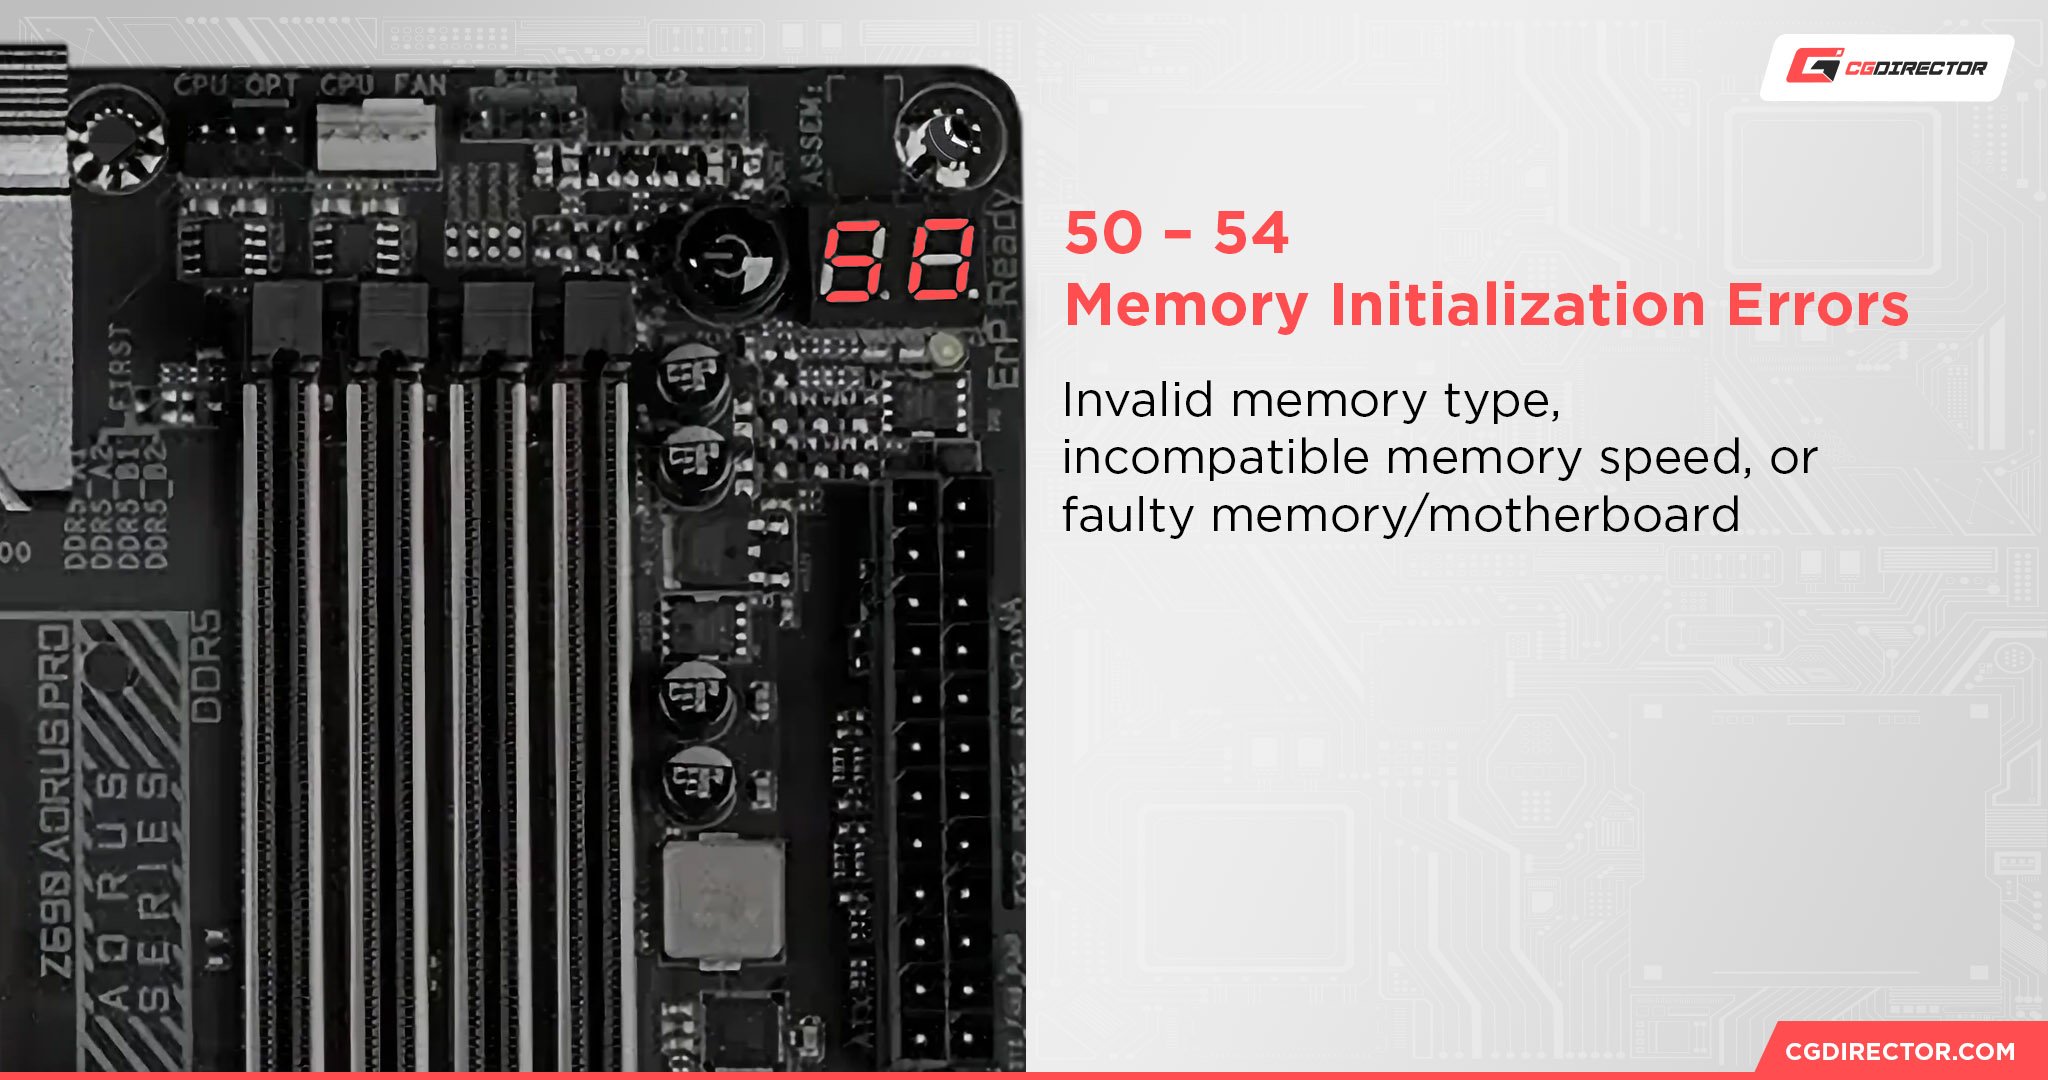
The main culprits behind these errors are often faulty or incompatible RAM modules, improper installation, or even a damaged motherboard.
To start troubleshooting them, try reseating the RAM modules and ensuring they are compatible with your system first.
You can do this by searching for the model of your motherboard, going to the official website, and then going to the “Support” section.
GIGABYTE usually has the QVL information either in its own section called “Memory Support List” or in a PDF under the “Support List” section.
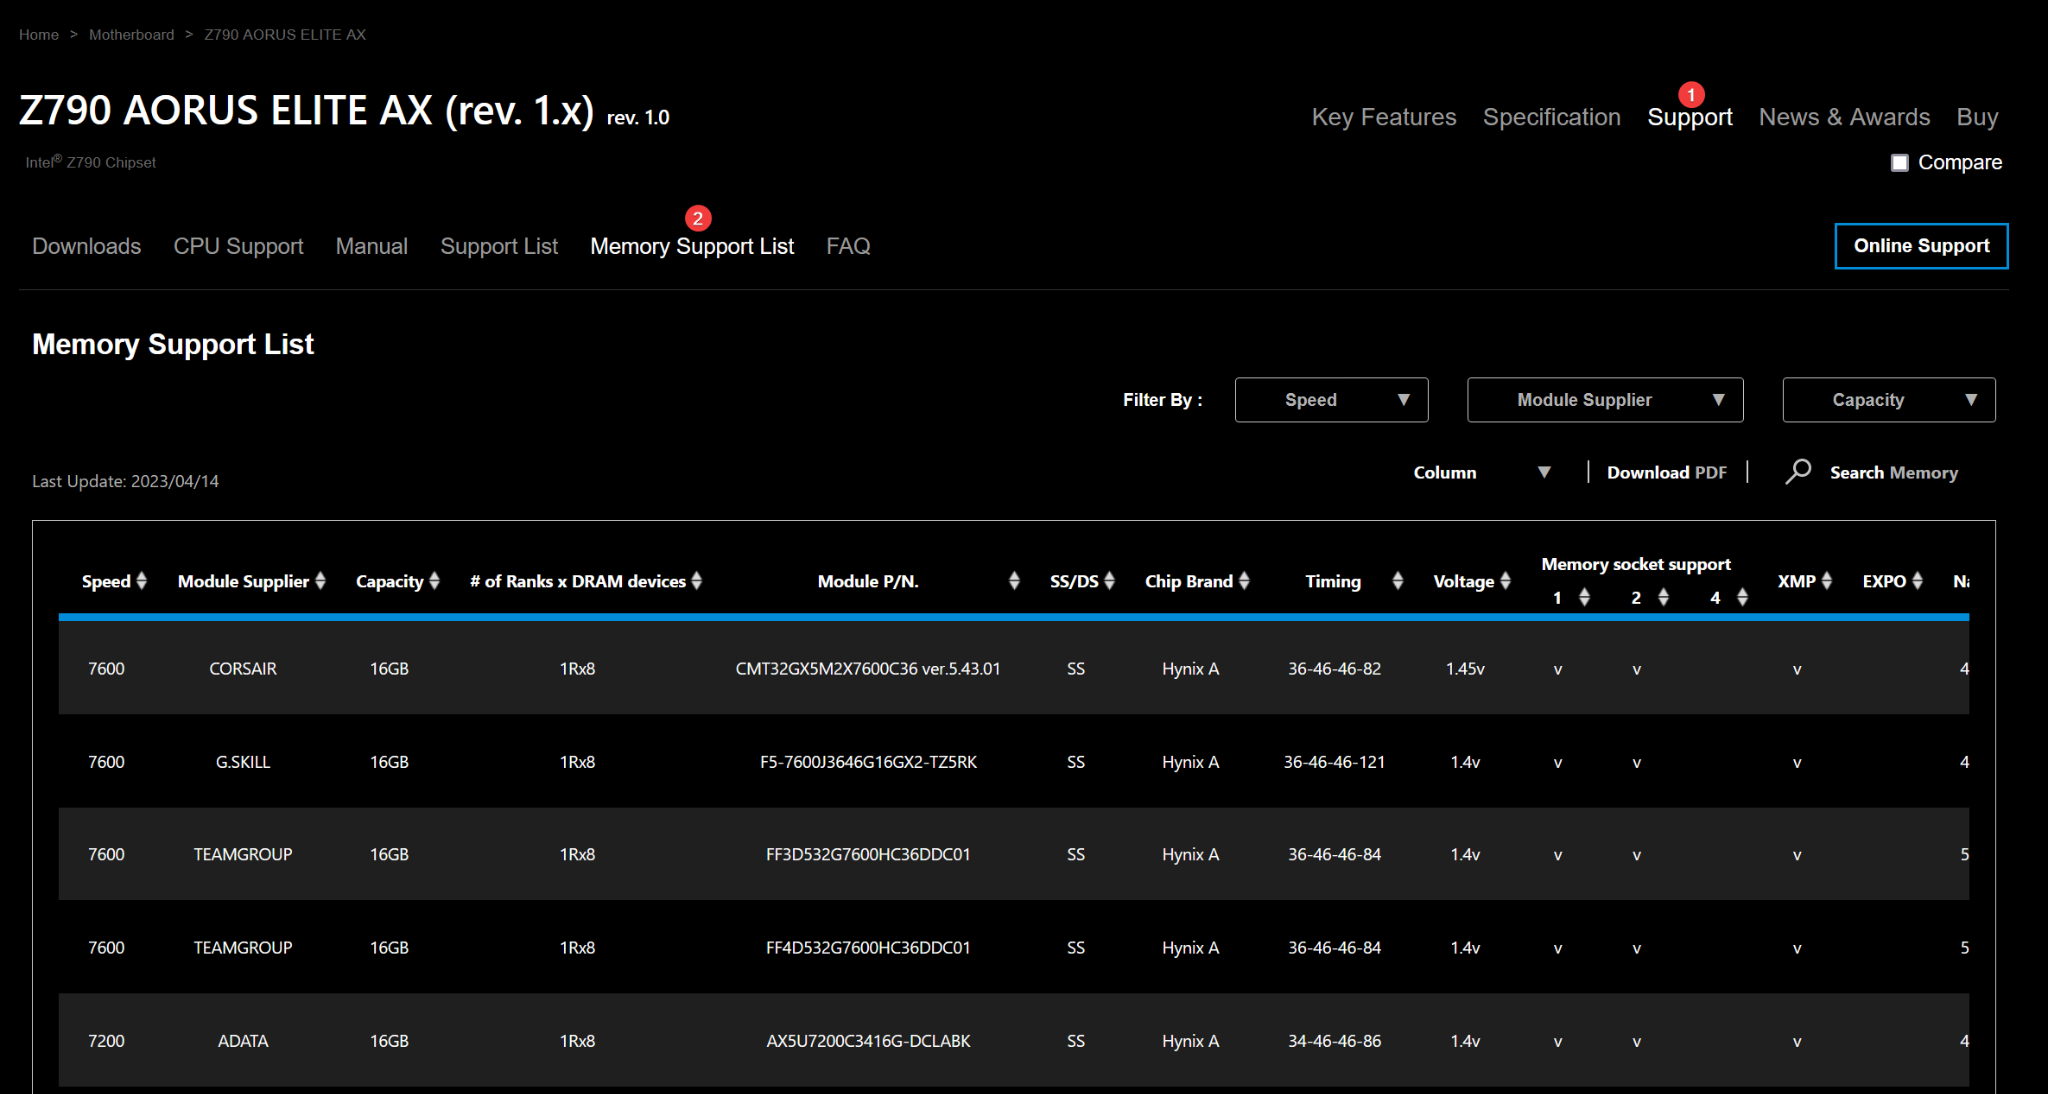
If the problem persists, try using a single module at a time to identify if one is faulty.
Additionally, check for any BIOS updates available from the motherboard manufacturer, as this may address compatibility issues with your RAM modules.
D2/D4 – PCI Allocation Error
This error usually pops up when your motherboard has an issue talking to the Peripheral Component Interconnect (PCI) device(s) connected to your system.

Misconfiguration, hardware incompatibility, or faulty components can result in this error.
Generally, nobody uses PCI-based devices anymore. Modern motherboards almost always have only PCIe slots. However, the above error still applies to them.
Things such as GPUs, network cards, and other expansion cards that communicate with your computer’s motherboard count as PCI devices.
My troubleshooting tips would be to first reseat the offending PCI device. Make sure to check the PCIe slot and the connector in your device for any visible damage or debris—and brush the debris off. Then reinsert the device and check to see if it fixed the error.
If it didn’t, I’d suggest connecting the device to a different free PCIe slot and checking if that works.
If it does, that could mean that your motherboard has a faulty PCIe slot. The only reasonable way to fix a problem like that would be to RMA the motherboard.
I’d also reset the BIOS/update it to the latest version to see if that helps.
56 – 57 – Invalid CPU Type or Speed/CPU Mismatch
These error codes represent issues related to the CPU.
Specifically, these errors indicate that there is either an invalid CPU type or speed (error 56) or a CPU mismatch (error 57) detected by the motherboard’s BIOS.

They can be triggered by an outdated BIOS, incorrect settings, or a damaged/incompatible CPU.
The first thing I’d do is reseat the CPU to make sure that there’s nothing wrong there—basically, follow what I outlined for error 00.
I’d also make sure that there aren’t any bent pins on either the CPU or the motherboard. If that is the case, you’ll definitely have to RMA them or take them to a professional.
If you’re technically inclined, you could try to adjust the pins yourself, but it can be dangerous, and if you mess up, you could make it even worse.
62 – Installation of the PCH Runtime Services
Code 62 generally pops up when there’s a problem with either your RAM or GPU.
I recommend reseating each component separately first—meaning, reseat one component, check to see if it works, reseat the other, and so on. Make sure all power cables are properly secured as well.
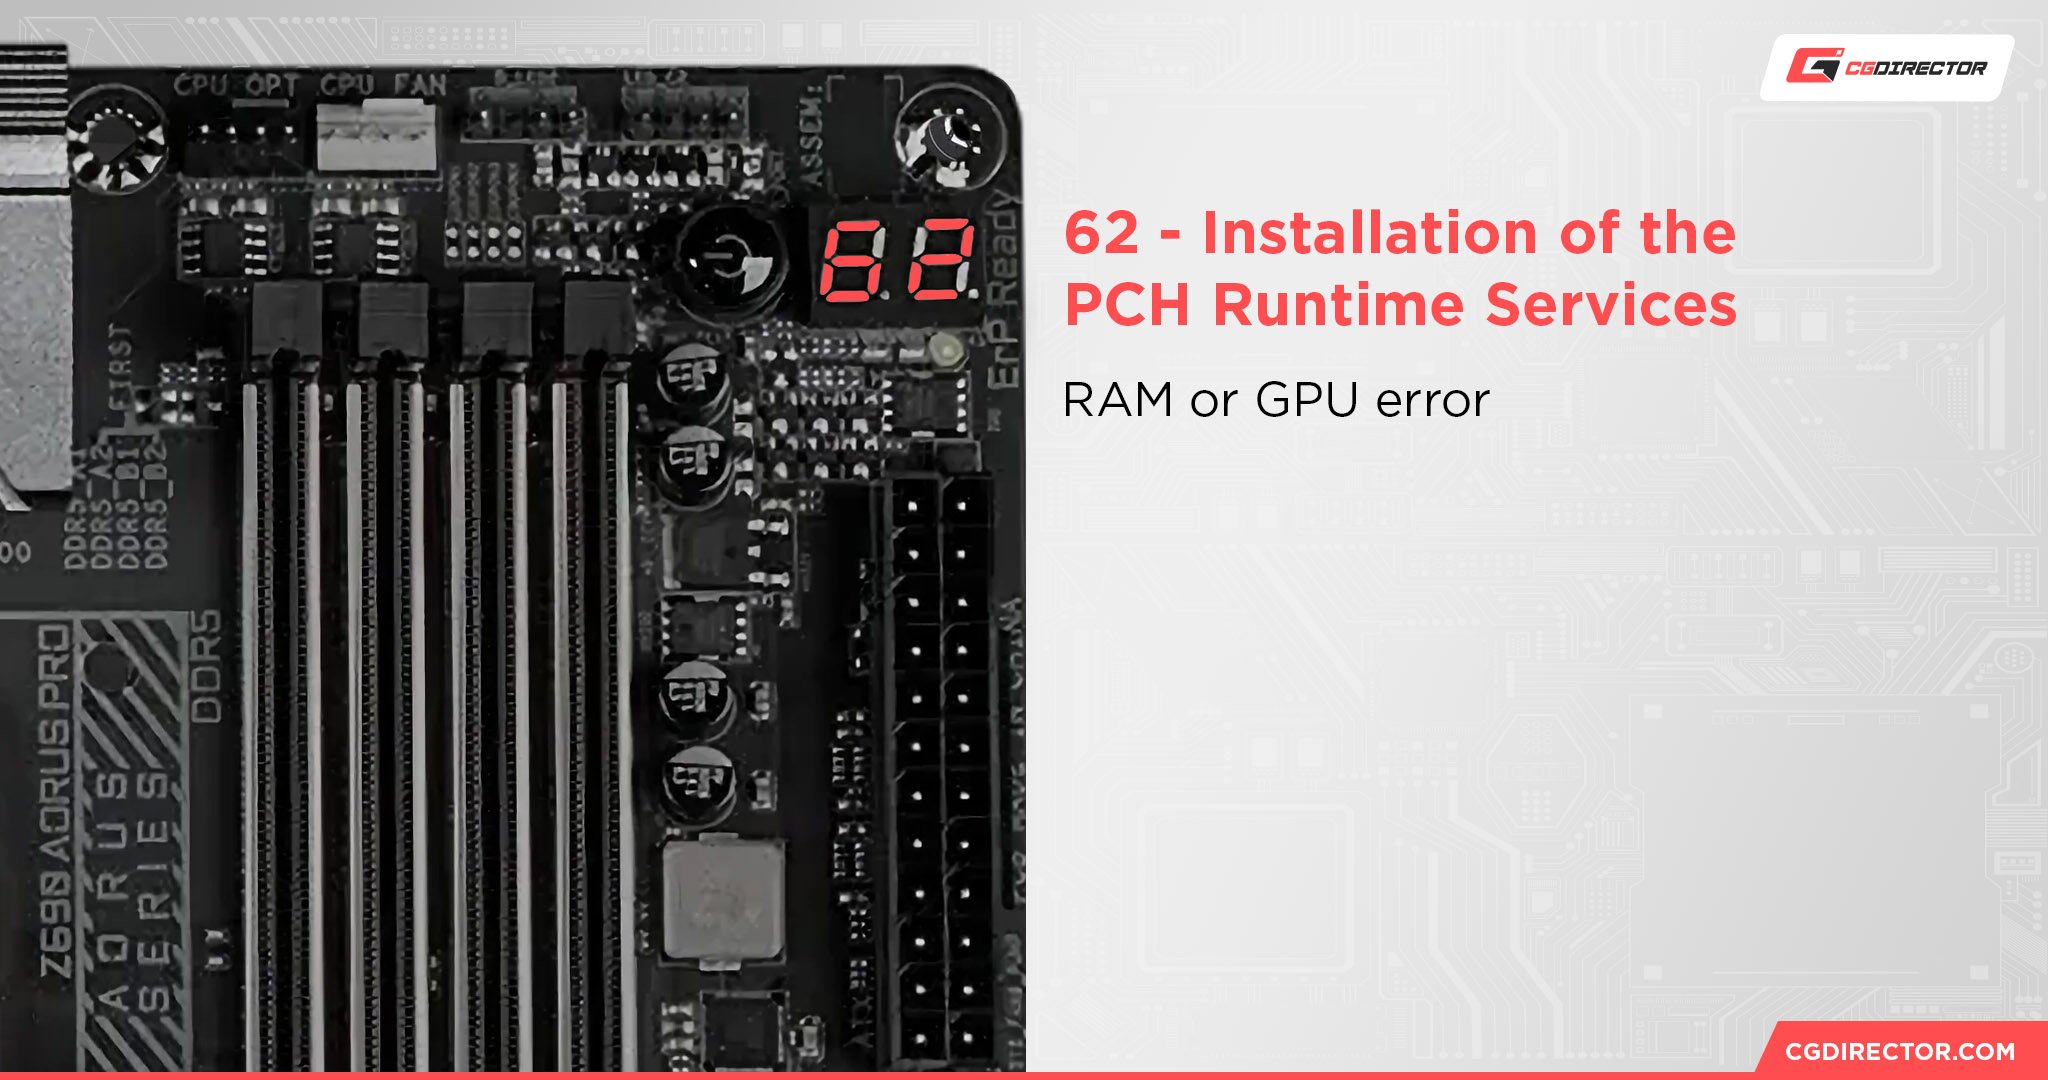
You should check your RAM by following the steps outlined in 50-54. If nothing changes, then the GPU is probably what’s messing everything up.
If your CPU has an integrated GPU or “iGPU“, you can take your dedicated GPU out and see if that fixes anything—remember to connect the monitor to a display connector on the motherboard first!
If the system runs fine, then your GPU is most likely the problem. To confirm it, I’d suggest testing your GPU with another PC to see if it works there.
Depending on how that goes, you may need to consider RMA-ing your GPU or motherboard or purchasing new ones entirely.
99 – Super IO Initialization
This error generally pops up when there’s something wrong with the peripherals connected to your motherboard.
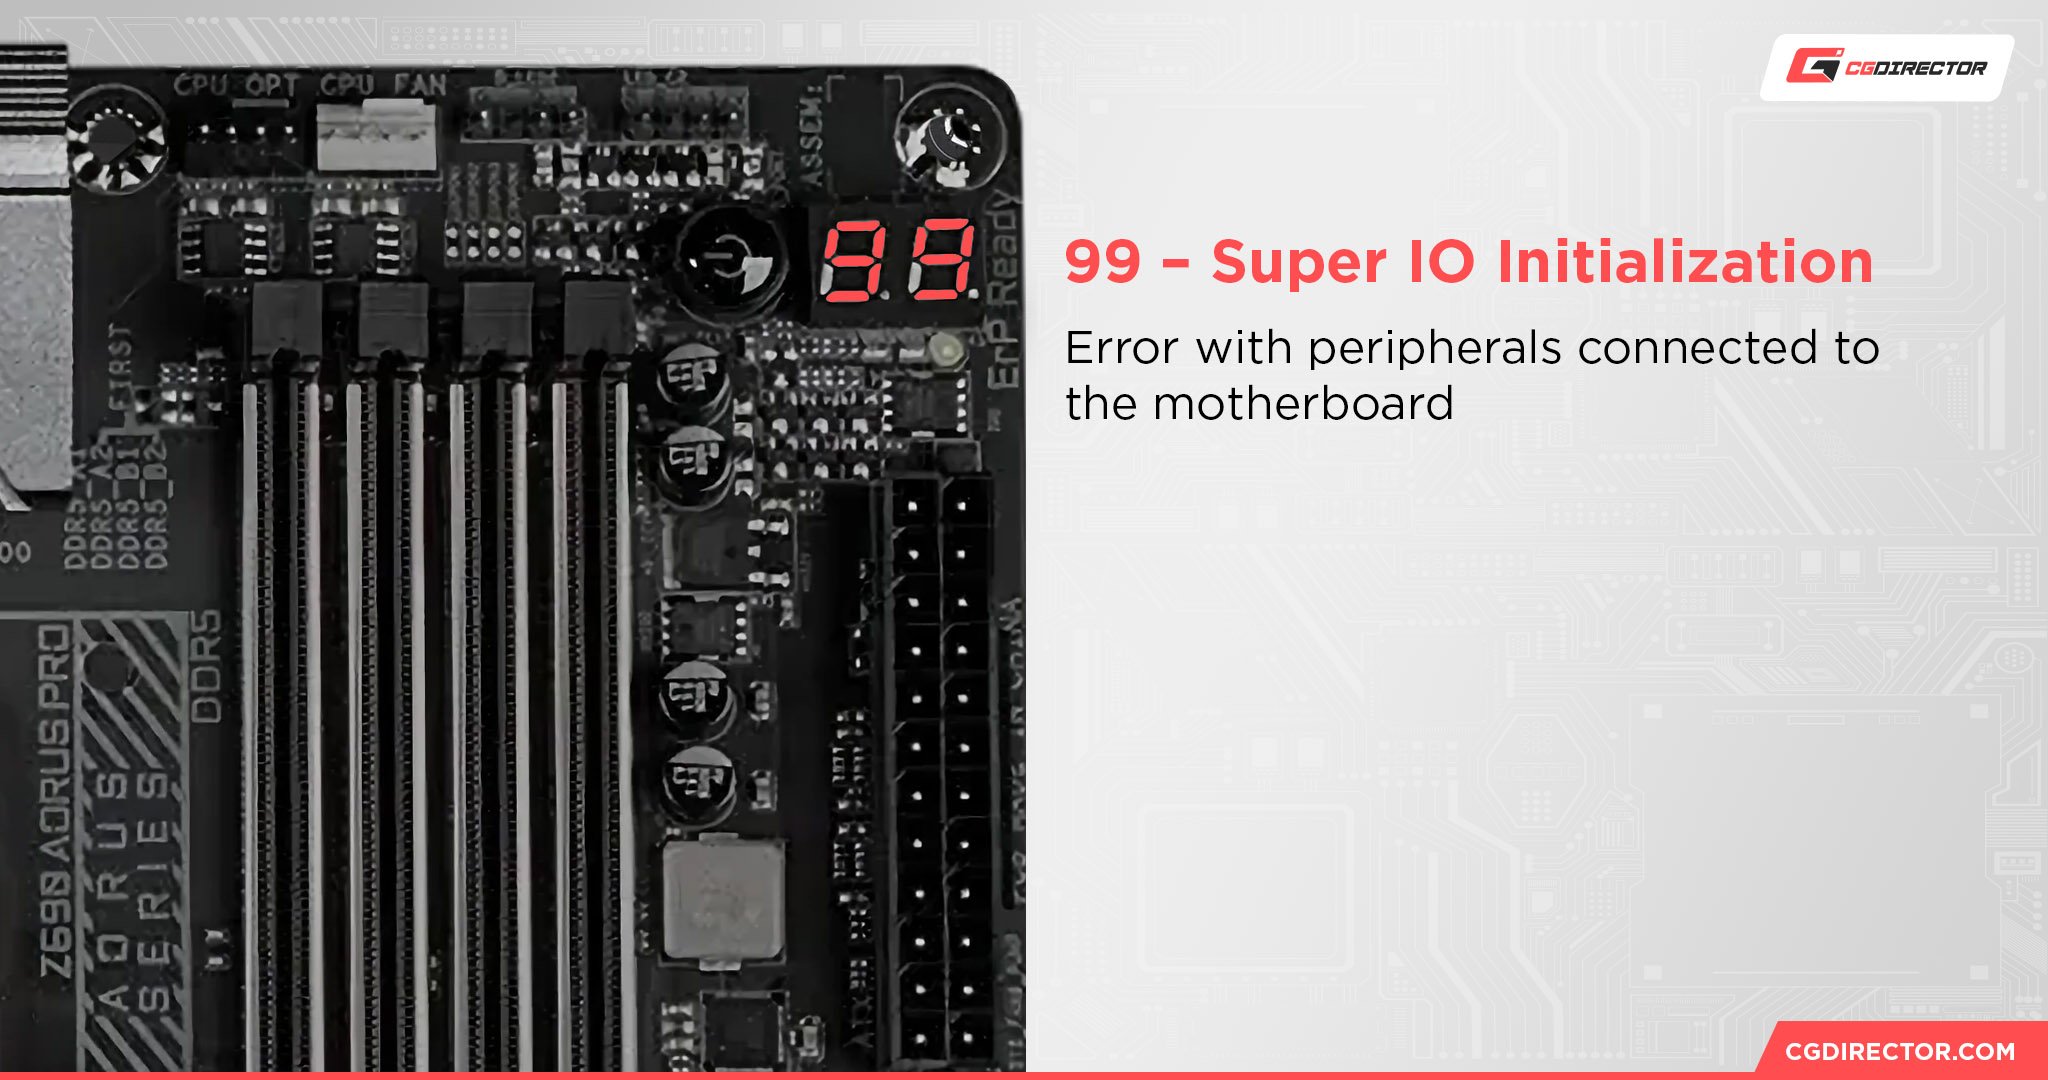
I’d suggest unplugging all secondary cables like charging cables, keyboard/mouse cables, etc., and then seeing if it boots.
Try reseating display cables, PSU cables, etc., if that doesn’t work. I’d suggest doing the troubleshooting steps outlined in code 00 as well.
If you’re turning the system on for the first time, you might get this error if you don’t have a keyboard connected as well. So you could try connecting a keyboard that you know to be working and see if it works.
A0 – IDE Initialization Is Started
Finally, one of the good ones. Generally, A0 is one of those codes that you’ll see every time you turn on your PC, even if there’s nothing wrong with it.

It means that everything is running fine and your motherboard is passing off control to the OS.
So if you see this one flashing, there’s nothing to worry about!
A2 – IDE Detect
If you’ve run into this error, you’re probably a data hoarder. It’s a simple error that’s basically telling you that your motherboard is having a hard time dealing with all the storage drives connected to it and figuring out which drive to boot into.

The easiest way to solve this issue is to only install the drive with your OS in it or install the drive you will put an OS into first. Then restart and install the rest of your drives.
Your motherboard should’ve automatically figured out the boot order at this point, but if it hasn’t, you can manually change it in the BIOS.
FAQ
Do All Motherboards Have Beep Codes?
Most motherboards have beep codes, but not all of them. Unless you’re using ancient technology, your motherboard will most likely have beep codes.
This isn’t to say that you’ll hear them though. Motherboards back in the olden days had small speaker components that created the beeps, but you don’t have them these days.
You generally need to have connected the motherboard to some speakers or headphones to hear the beep codes now.
Do All GIGABYTE Motherboards Have LED Codes?
Sadly, no. For some asinine reason, most manufacturers provide LED codes on select motherboards only, usually the higher-end models.
You will still have beep codes, but they’re more of a hassle to deal with than a simple LED code.
How Do I Disable the LED Codes on a GIGABYTE Motherboard?
I would highly suggest that you don’t mess with the LED codes because they can be very valuable when you run into an issue.
If you really want to cover it up, I’d suggest using some dark tape over it so that you can easily take it off if you run into an error.
However, if you really don’t care, you should be able to find the option to turn it off in the BIOS. It will be named something like “Error LED Function.”
What Does It Mean When a Motherboard Doesn’t Beep?
If a motherboard doesn’t beep during the boot process, it could mean a few things.
It may be functioning correctly, and no errors were detected, or you simply haven’t connected any speakers/headphones capable of hearing the beeps.
Over to You
Have any other questions about PC components? Feel free to ask us in the comments or our forum!
![Where Do You Connect PC Fan PWM Cables To? [Beginner’s Guide]](https://www.cgdirector.com/wp-content/uploads/media/2023/12/Where-Do-PWM-Cables-Go-Beginners-Guide-Twitter-1-594x335.jpg "Where Do You Connect PC Fan PWM Cables To? [Beginner’s Guide]")
![How To Connect Front Panel Cables To Your Motherboard [Guide]](https://www.cgdirector.com/wp-content/uploads/media/2024/01/How-To-Connect-Front-Panel-Cables-To-Your-Motherboard-Twitter-copy-1-594x335.jpg "How To Connect Front Panel Cables To Your Motherboard [Guide]")


0 Comments