 by
by 
TABLE OF CONTENTS
What is secure boot in BIOS? Should you enable it, or disable it? What does it actually do?
Stick around and I’ll be diving into these questions in rapid form.
Let’s get into it!
What Is Secure Boot In BIOS?
Before I do anything, I want to clarify what Secure Boot in BIOS actually is, that way your decision to enable it or disable it is an educated one.
Secure Boot is a security setting that allows your motherboard to check that all operating system software is signed by a trusted vendor, generally Microsoft for a Windows PC.
It’s one of many features introduced by the jump from legacy BIOS to UEFI BIOS that started with Windows 8.
The main purpose of Secure Boot is to protect from potential malware infections and rootkits that could interfere with your Windows operating system booting up normally.
However, there are a few legitimate reasons to run a system without Secure Boot enabled, which I’ll also discuss a little later on.
For the most part, though, Secure Boot is an option that should help keep your system protected and shouldn’t interfere with what you do on Windows. Let’s talk about how to enable it!
How To Enable/Disable Secure Boot In BIOS
Step 1: Open BIOS
First, you’ll need to open your BIOS in order to enable or disable Secure Boot.
To open your BIOS on most motherboards, pressing the F2 or Delete keys while starting up your PC should get you to boot into BIOS instead of your main operating system.
If those keys don’t work, they do vary by manufacturer but the correct key should be shown during your motherboard manufacturer splash screen anyway, provided you don’t boot past it too fast to read it.
You can also opt to open your BIOS from within Windows by using the Advanced startup method.
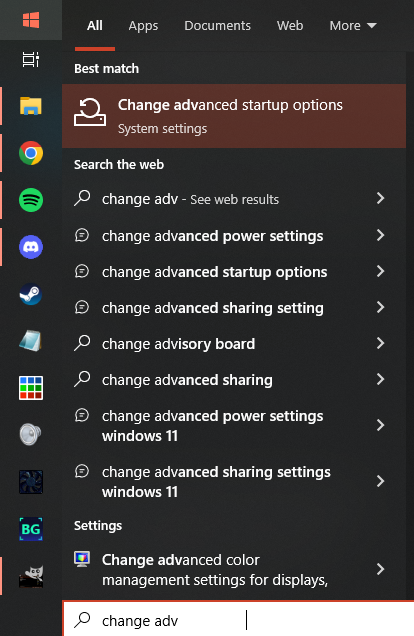
First, open Start and type “Change advanced startup options”. Click the matching option.
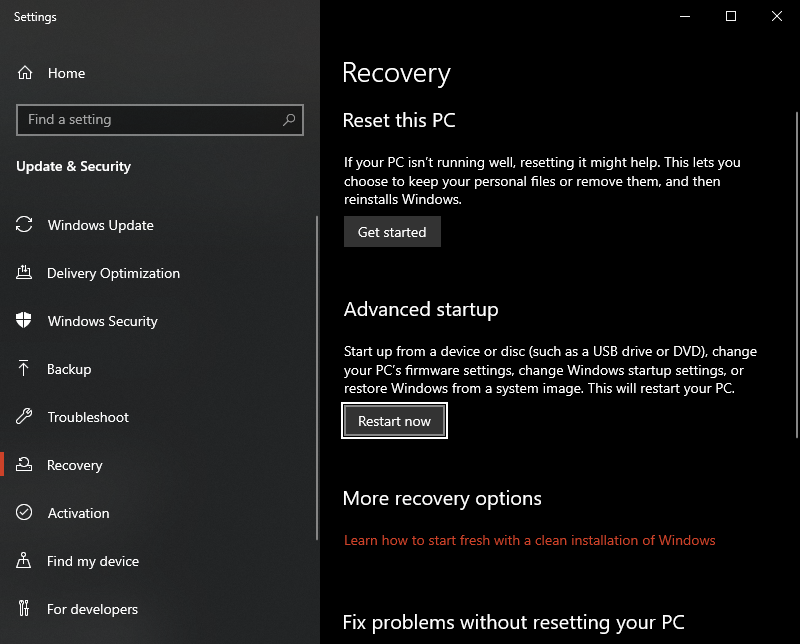
In the popup window pictured below, click “Restart now”. This will progress you into an Advanced startup.
Now, you’re in a Windows Advanced Startup. A variety of diagnostic and repair options are available from here, but what we’re really looking for is an alternate entry into your BIOS.
Open Advanced options and select “UEFI Firmware Settings”, as pictured below.
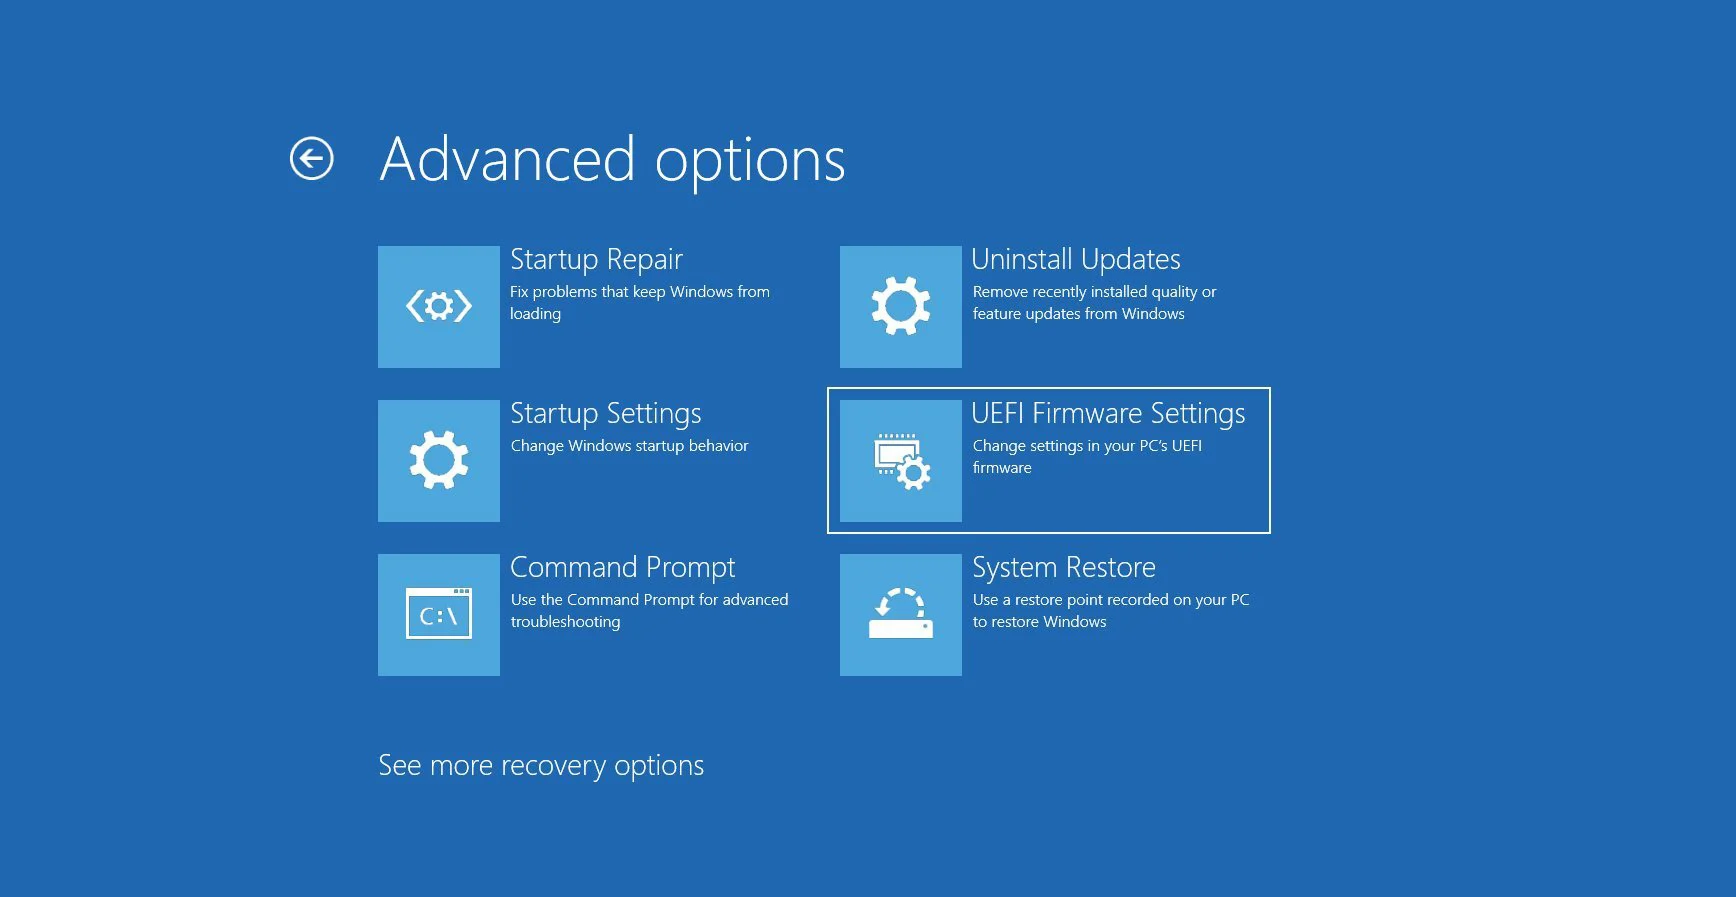
You should now be booted into your BIOS.
Step 2: Find “Boot” or “System” Menu In BIOS
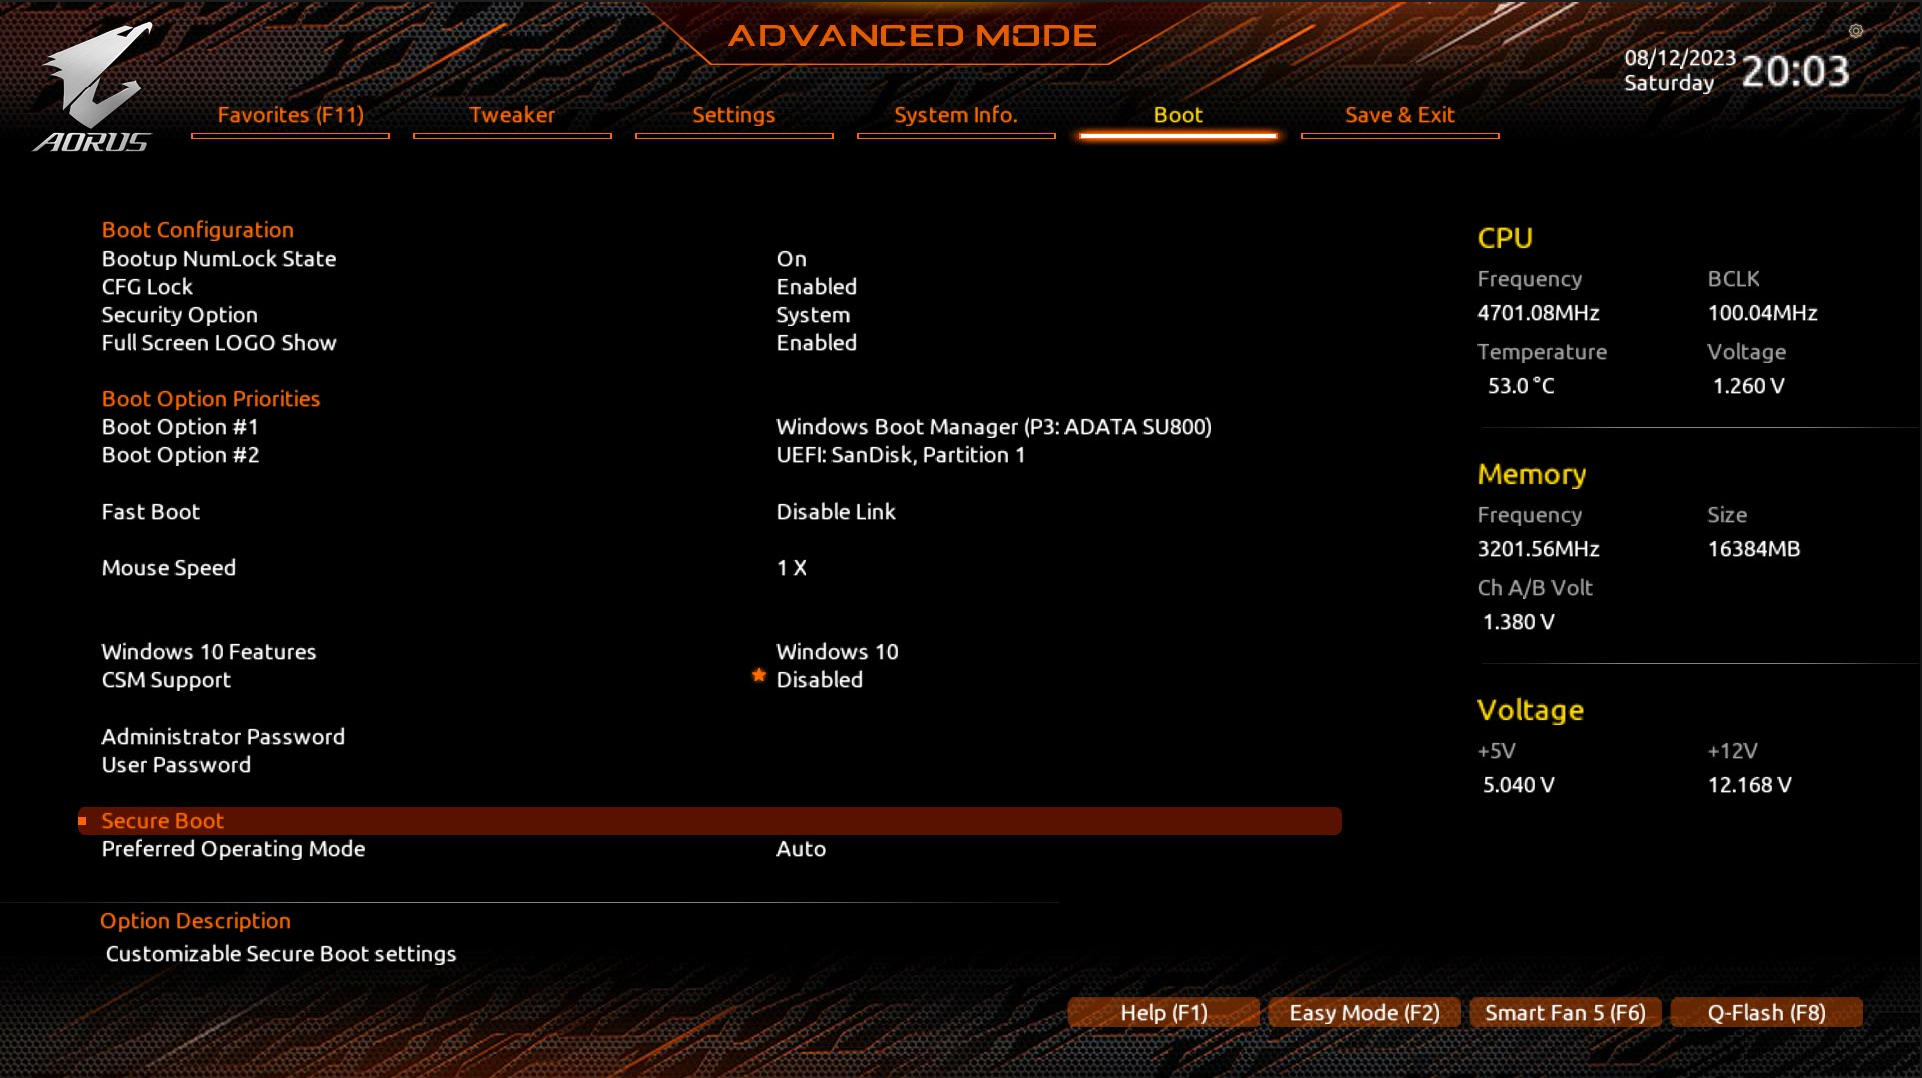
Once in your BIOS, you’ll want to find where your Secure Boot option is located.
It should be in a core “Boot”, “Startup”, or “System” menu with the rest of your Boot options, ie Boot order.
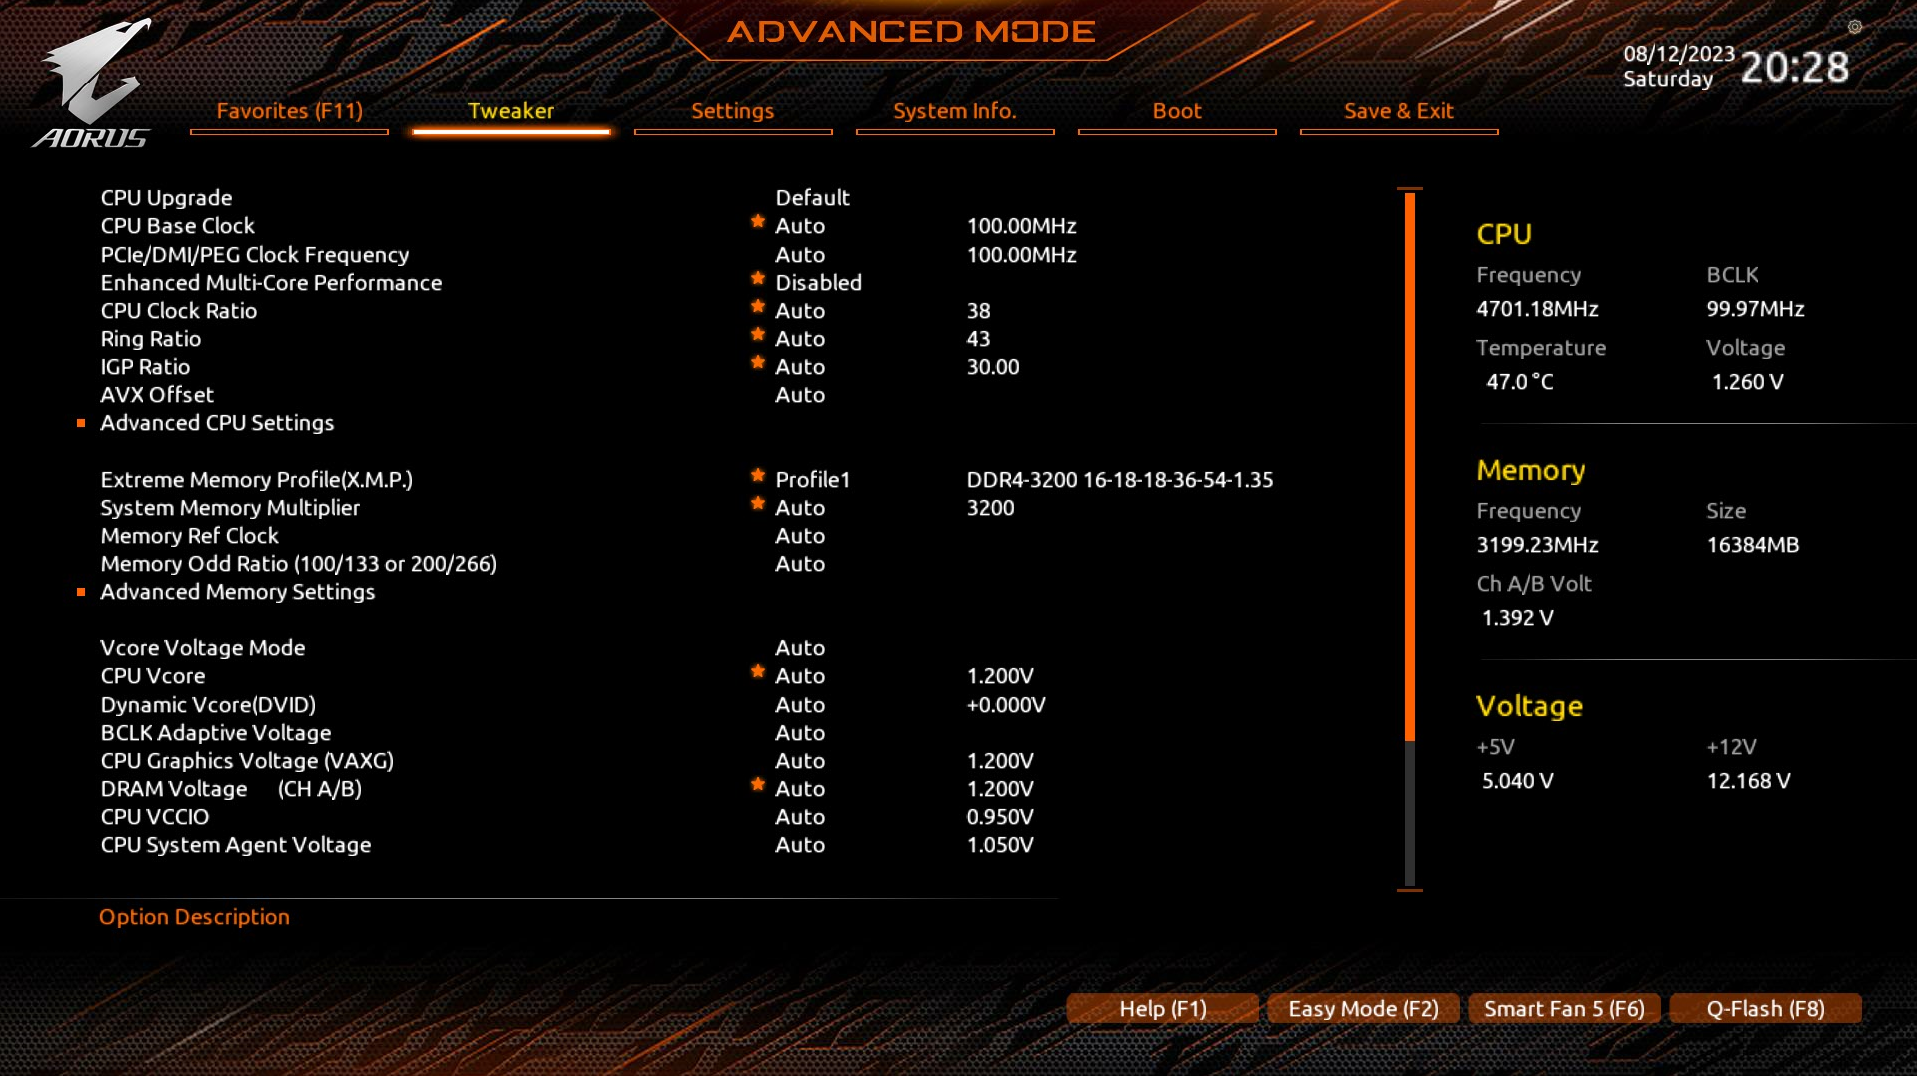
In my Gigabyte AORUS UEFI, the Boot Menu is one of six main buttons.
Step 3: Enable Secure Boot
Once you’ve found your Secure Boot option, select it.
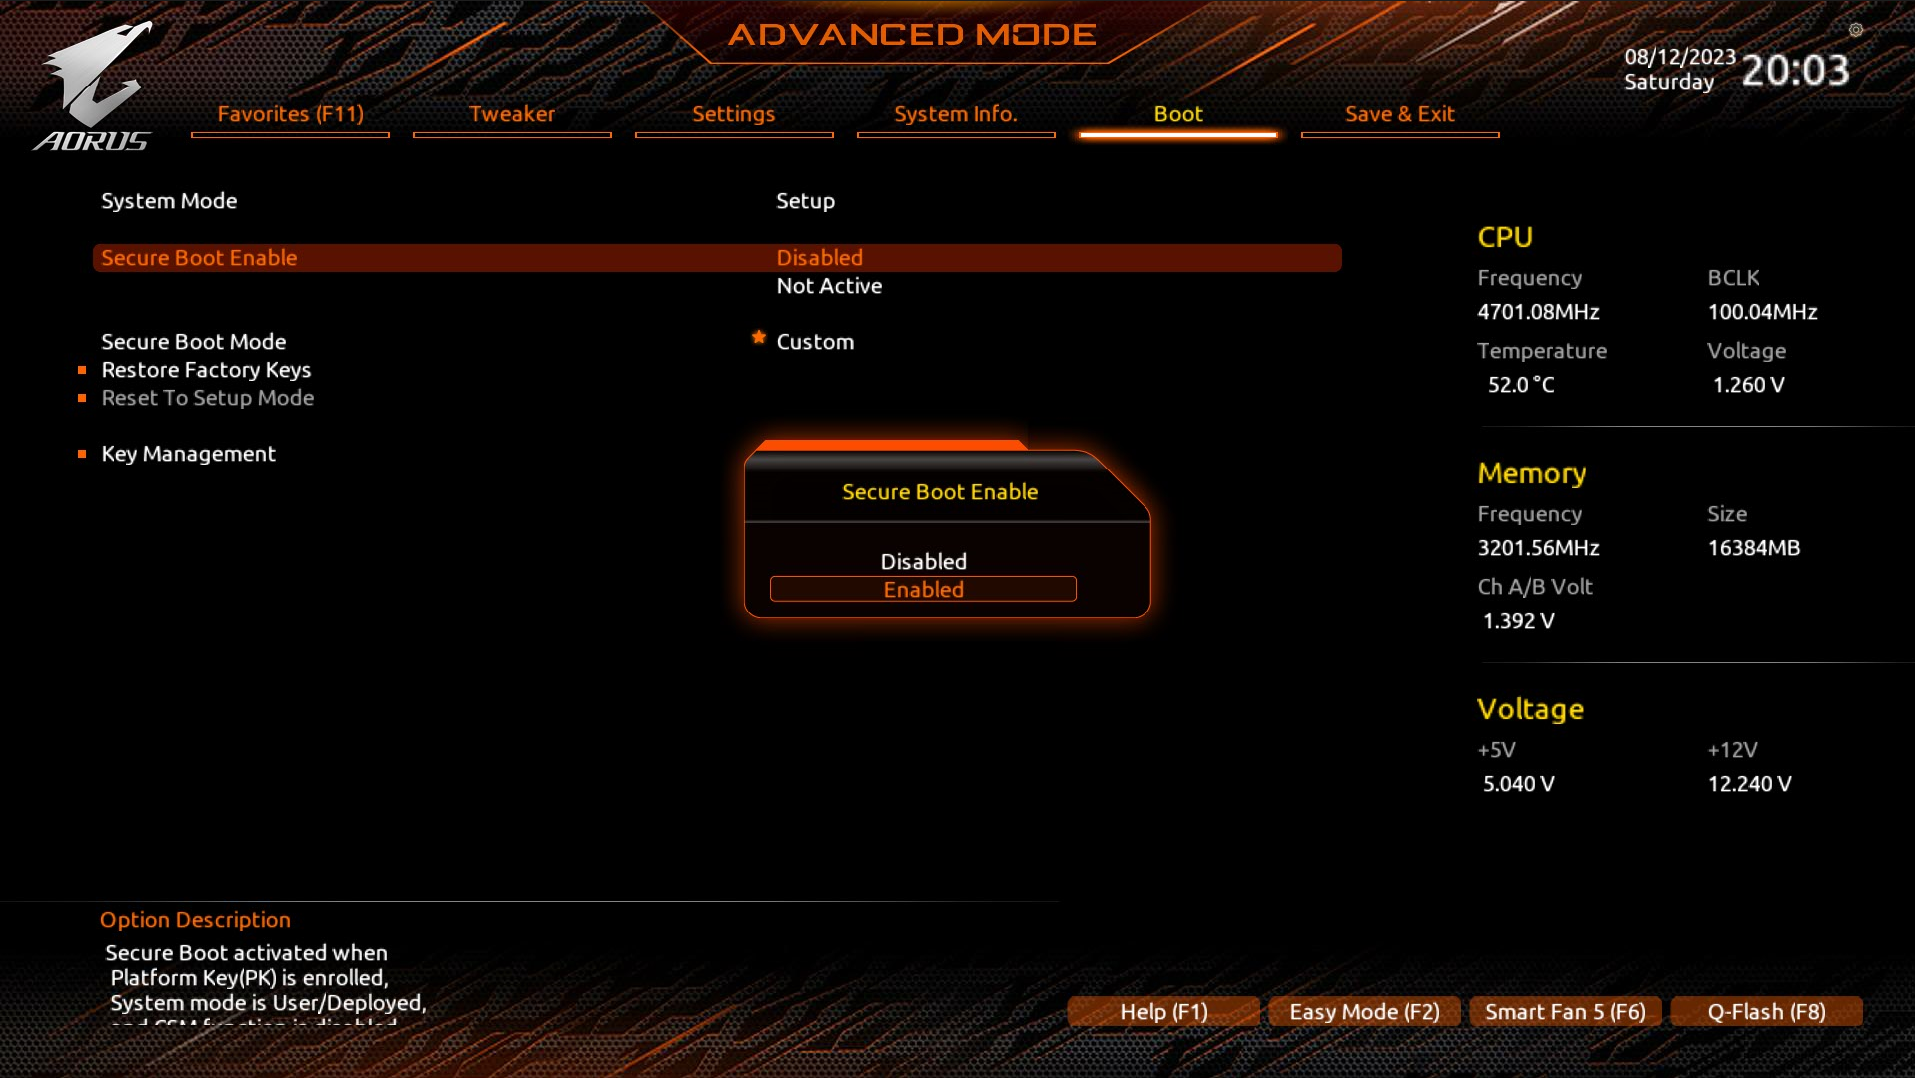
You can now enable or disable Secure Boot on your system.
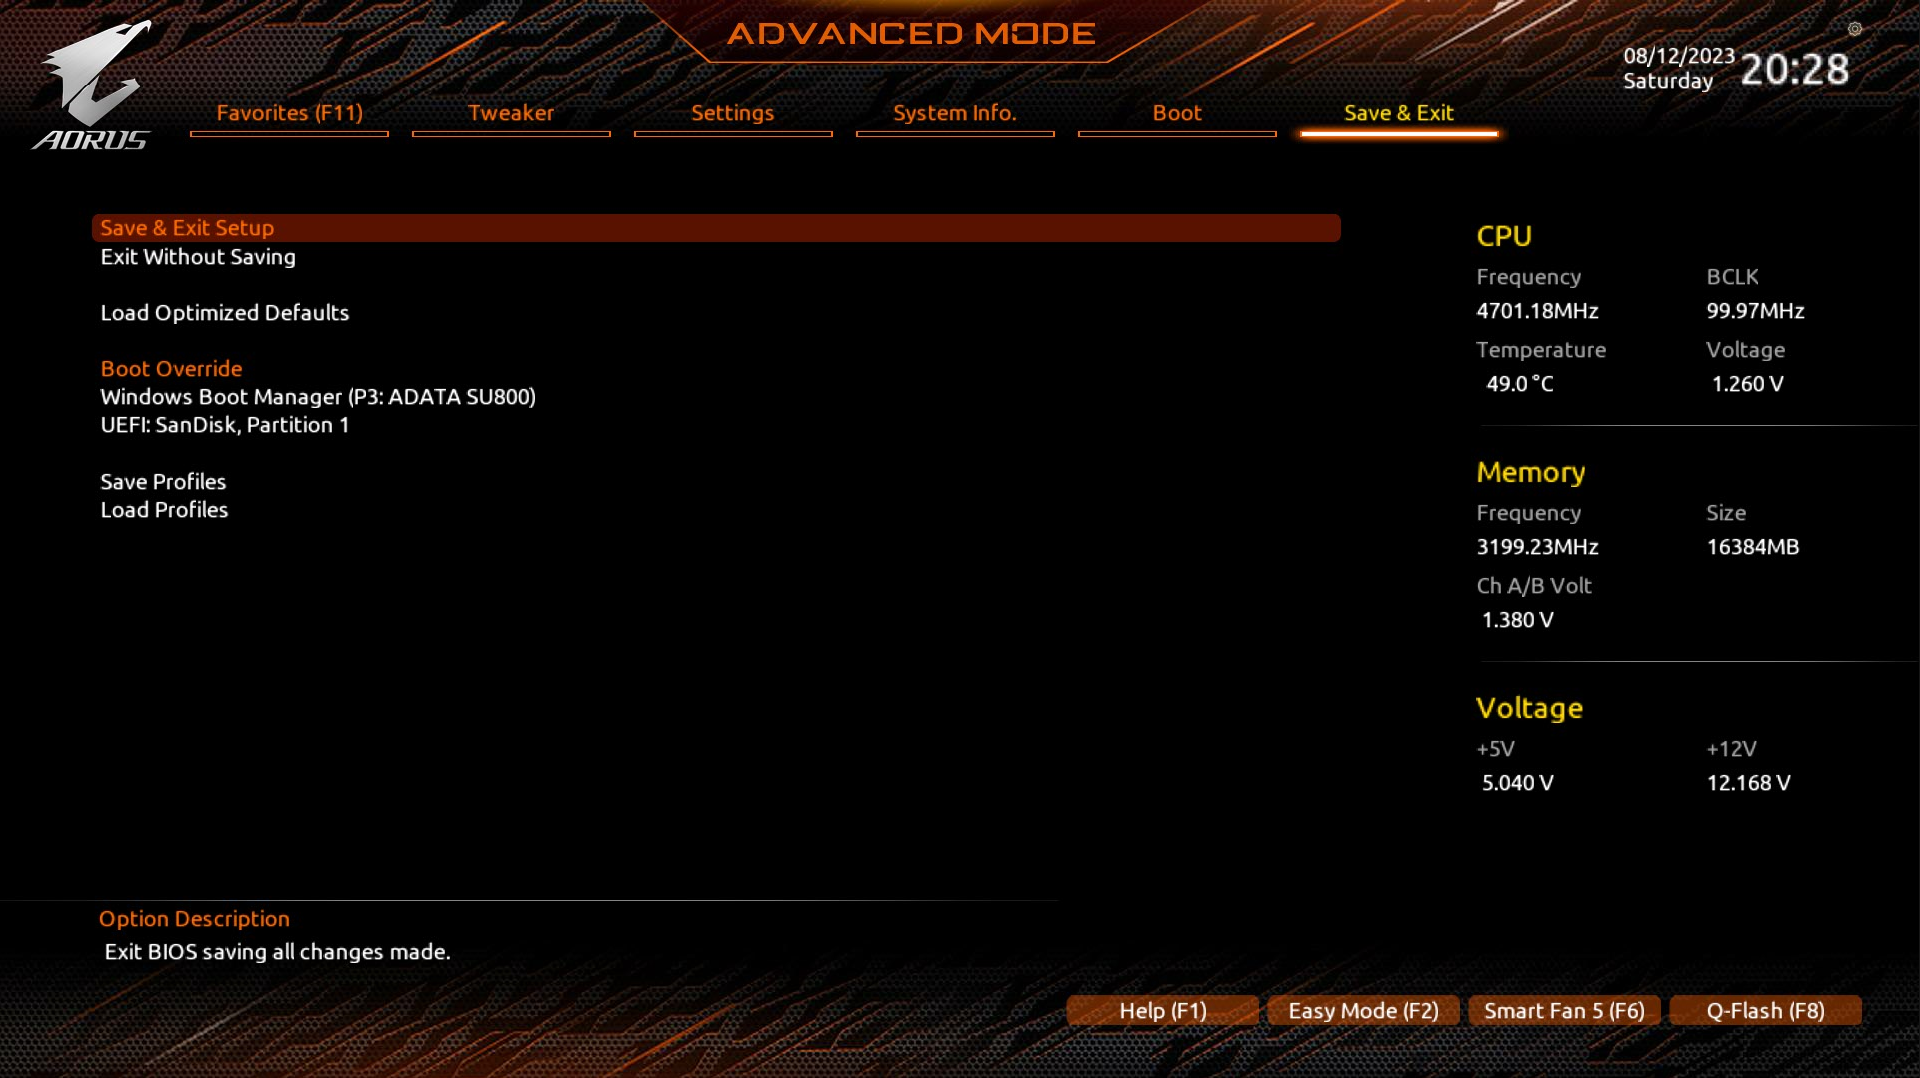
Step 4: Exit and Save Changes
Once you’ve made the settings change, be sure to properly save your changes and exit your BIOS!
These buttons should be clearly labeled regardless of motherboard software, but the below screenshot is how it looks on my Gigabyte board:
When Should You Disable Secure Boot In BIOS?
Now, you technically shouldn’t disable secure boot at all, since it only makes your system more secure. However, there may be reasons you want or need to disable secure boot for specific workloads.
Here’s why you might disable secure boot:
- To boot an older version of Windows. Until recently, only Windows 8 and newer versions of Windows supported Secure Boot and UEFI at all. However, Windows 7 did get an update enabling Secure Boot and UEFI in early 2023.
- To dual boot with Linux or another OS. While some Linux distributions (like Ubuntu) work with Secure Boot, not all of them do. Even the ones that work with Secure Boot can have some issues with it enabled, though— this is very much a Windows-directed feature.
Unless you’re trying to use alternative operating systems, there isn’t much reason to disable secure boot at all.
Over to You
And that’s all, for now!
I hope this article helped clarify the purpose of Secure Boot in BIOS and how to enable it.
Now, Secure Boot is no replacement for an actual antivirus (at least Windows Defender) and periodic malware scans (try Malwarebytes), but it’s still a nice-to-have feature against more malicious forms of malware.
Do you have any other questions about Secure Boot or PC security? Feel free to ask them in the comments section below. Me or another member of the CGDirector Team will be happy to assist you.
You can also discuss other PC hardware topics on the CGDirector Forum, where other Enthusiasts and Experts are active, too.
Until then or until next time, happy computing! I hope Secure Boot serves you well.


 In BIOS")


0 Comments