 by
by ![What To Do AFTER Building/Buying a PC? [Checklist + Do this first!]](https://www.cgdirector.com/wp-content/uploads/media/2022/05/What-To-Do-AFTER-BuildingBuying-a-PC-Setting-up-a-New-Computer-for-Dummies-Twitter-1200x675.jpg "What To Do AFTER Building/Buying a PC? [Checklist + Do this first!]")
TABLE OF CONTENTS
Your PC is finally done! Everything is connected properly and you’re just about to turn it on for the very first time.
Well… then what?
Are there things you should do immediately AFTER you’ve finished building a PC?
Yes, there are!
Here is our checklist to ensure everything functions properly —
What To Do AFTER Building/Buying a PC [Checklist]:
- Check if it successfully POSTs
- Check & Adjust BIOS Settings
- Install an Operating System (OS)
- Install any missing & latest Drivers
- Check Internal Temperatures
- Install Crucial Programs
- Benchmark Your New System
- (Optional) Stress Test Your New System
- All done! Start using your system 🙂
What to do AFTER Building/Buying a PC
Check if it successfully POSTs
You’ve installed all PC parts to the best of your ability and have plugged in the Power Supply, Monitor(s), and Input Devices.
Here’s what preliminary Hardware checks you should do while making sure your new PC successfully POSTs. A POST is a Power on self test, a test that the PC runs directly after being turned on to make sure everything works correctly:
- Make sure your PSU is switched to ON (not all PSUs have this switch)
- Turn on your PC
- Make sure all Fans start spinning (CPU, Case, GPU). They might go idle after a while, which is fine
- Make sure there are no beep, Error Code LEDs, or Debug LEDs staying lit on the Motherboard
- Wait until you get a display signal that should show a successful POST (Power on self test) result
- If you wait a few minutes and nothing shows on the screen, go troubleshoot
If you haven’t assembled the PC yourself but have bought a pre-built that is already assembled, you should add the following step to the above:
- make sure there is no packaging material/padding inside or outside the PC case that has to be removed before turning on your PC
Once you get a signal on your Monitor that tells you the POST was successful, here’s what I do next:
Check & Adjust BIOS Settings
First things first, before installing an operating system, there are some BIOS settings you should check.
The BIOS will give you a quick overview of your installed components and whether they’ve actually been recognized properly.
Enter your BIOS by repeatedly pressing either the F2 or DEL key on your keyboard after turning on the PC.
Your main BIOS Screen will show you the CPU Model, its clocks and cores, the RAM capacity, frequency and latency, and you can go through your storage options to see if all of your storage drives have been recognized.
You might notice a few things aren’t as they should be, and your RAM frequency will most likely be one of them.
So adjust this first:
XMP Profile
Extreme Memory Profile, XMP in short, allows users to quickly set up their RAM to work at advertised speeds.
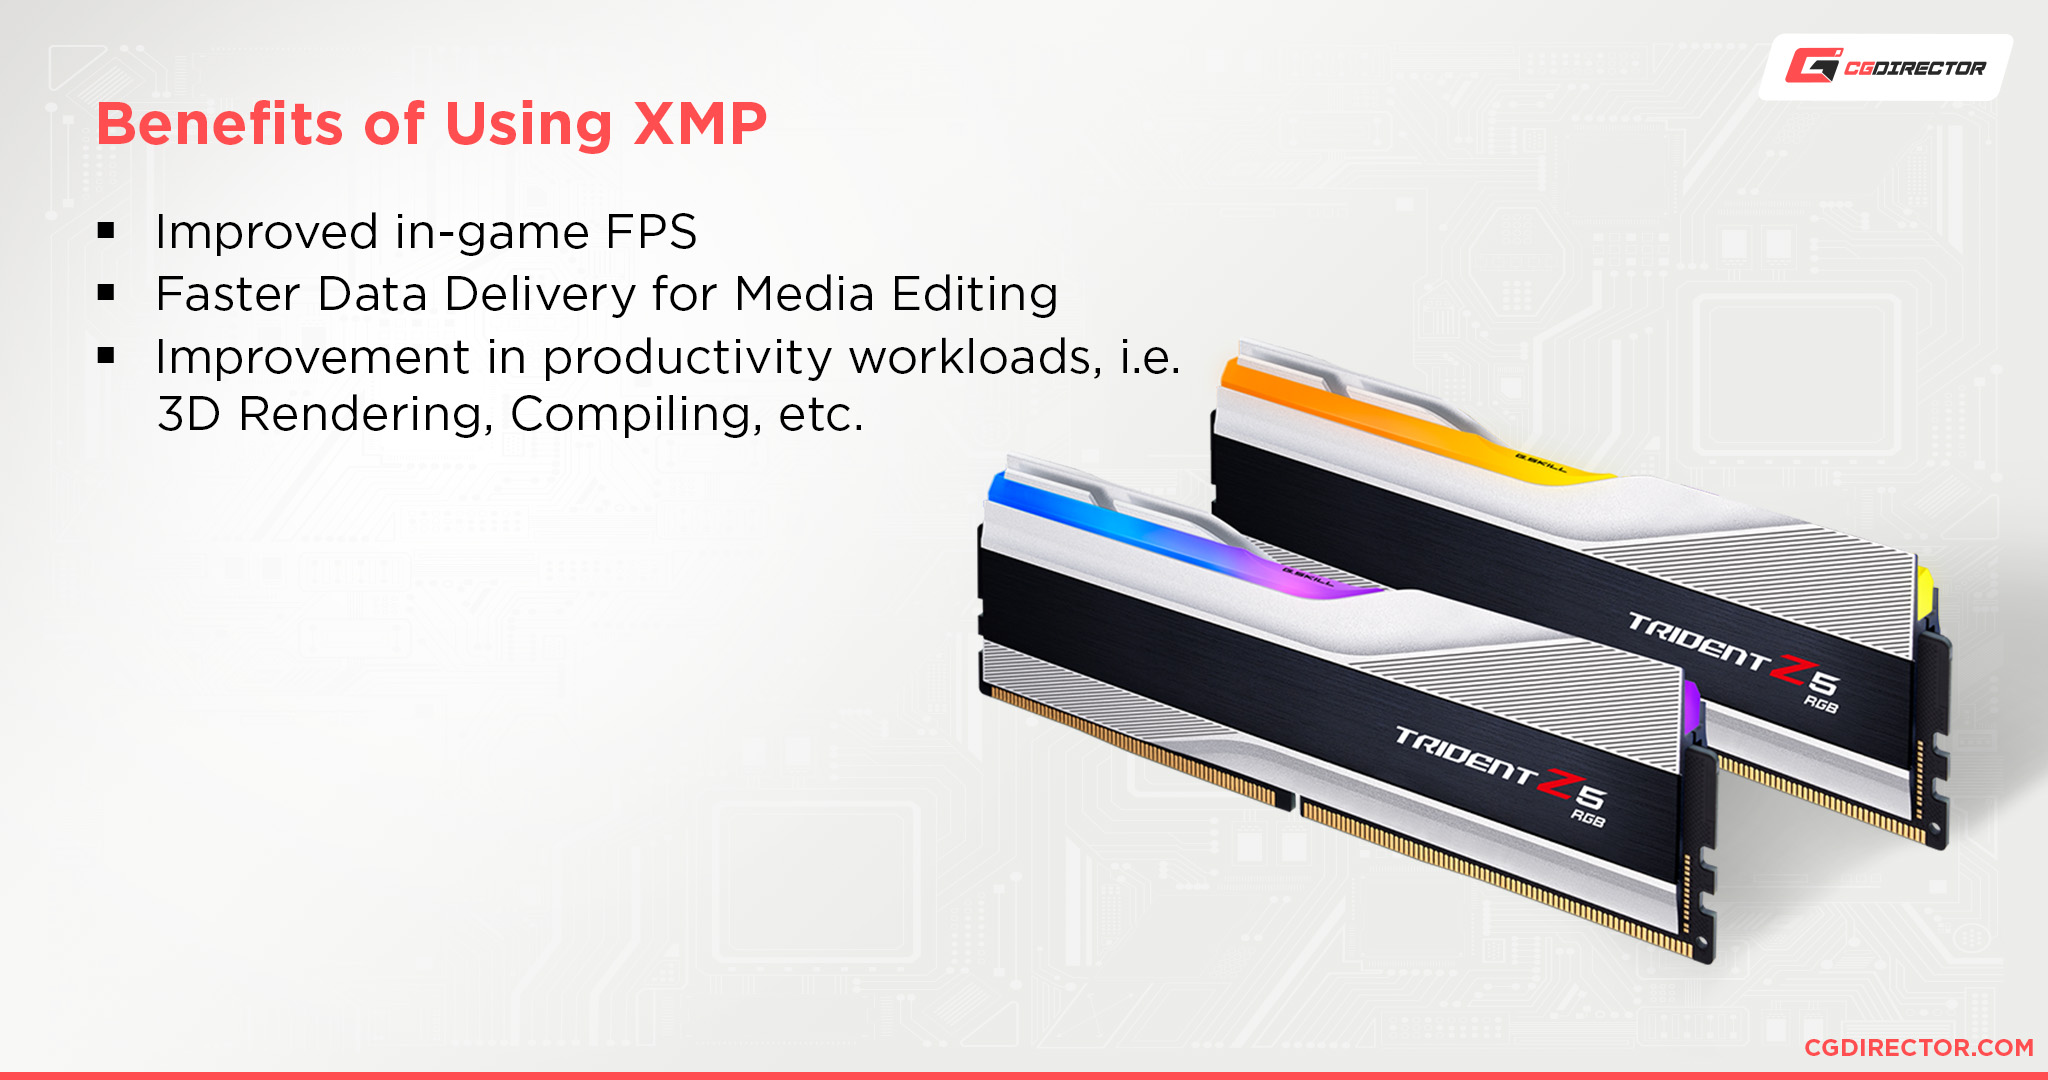
The process of setting up XMP greatly varies from one motherboard brand to another but the end result is the same: Faster RAM that actually runs at the intended frequencies and latency.
Here’s how to properly set up XMP.
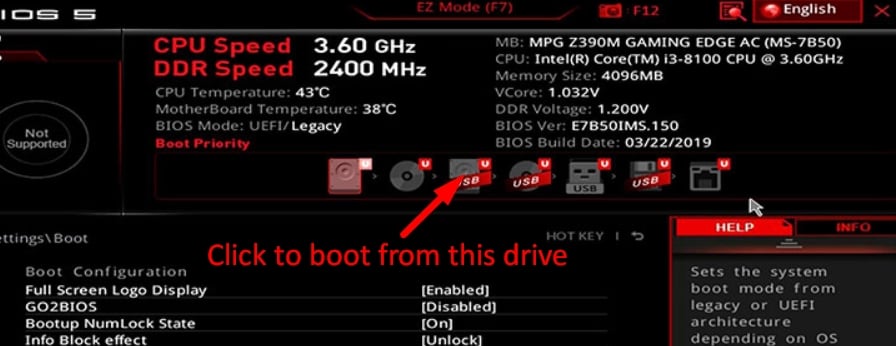
Boot Drive Priority
Because you’ll want to install an operating system ASAP, you should set the boot options to prioritize the drive you’ll be using for the Windows installation (not the drive you’ll be installing the OS onto).
This may very well be a USB Drive or an optical Drive (CD/DVD).
If you’d rather not mess with the boot drive priority, many BIOS’ have the ability to boot from a specific drive by simply clicking on it on the main screen.
Fan Curves
One of the first things I do when going into the BIOS of a fresh PC is check and adjust the fan curve settings.
The Motherboard manufacturer usually has a fan curve set up by default already, but these are often set suboptimally.
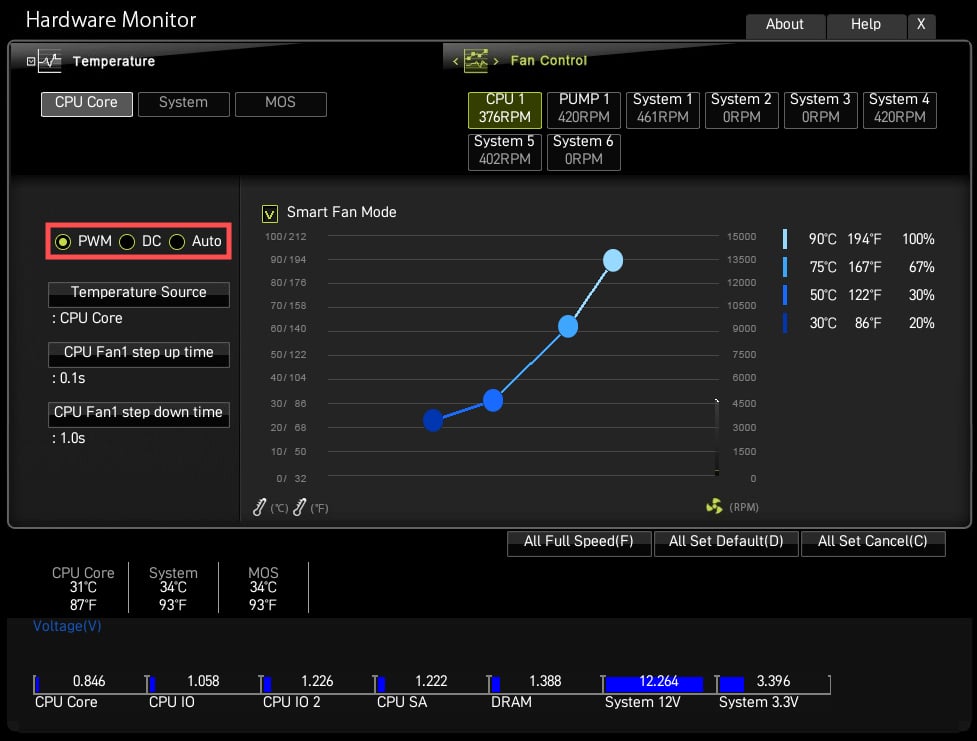
Custom fan curve in an MSI UEFI BIOS – Source: MSI
The Fan curves are either set to ramp up too early, meaning your noise levels will be higher than you’d like. On the flip-side, if you’re looking to squeeze out the highest performance possible from your PC, the Fans might be set to ramp up too late making your CPU and other PC components hotter than they need to be, which decreases their performance in turn.
I also like to make sure all of my Fans (CPU and Case) actually ramp up and down correctly. You can do this inside the Hardware Monitor of most BIOS/UEFI’s by moving up and down the RPM handles for your current temperature.
Here’s everything you need to know about controlling your FAN curves and what yours should be set to.
CPU Clocks
If you’re not an experienced PC enthusiast, skip this step.
I, myself, like to do some basic overclocking right off the bat… assuming your motherboard and CPU support it, of course.
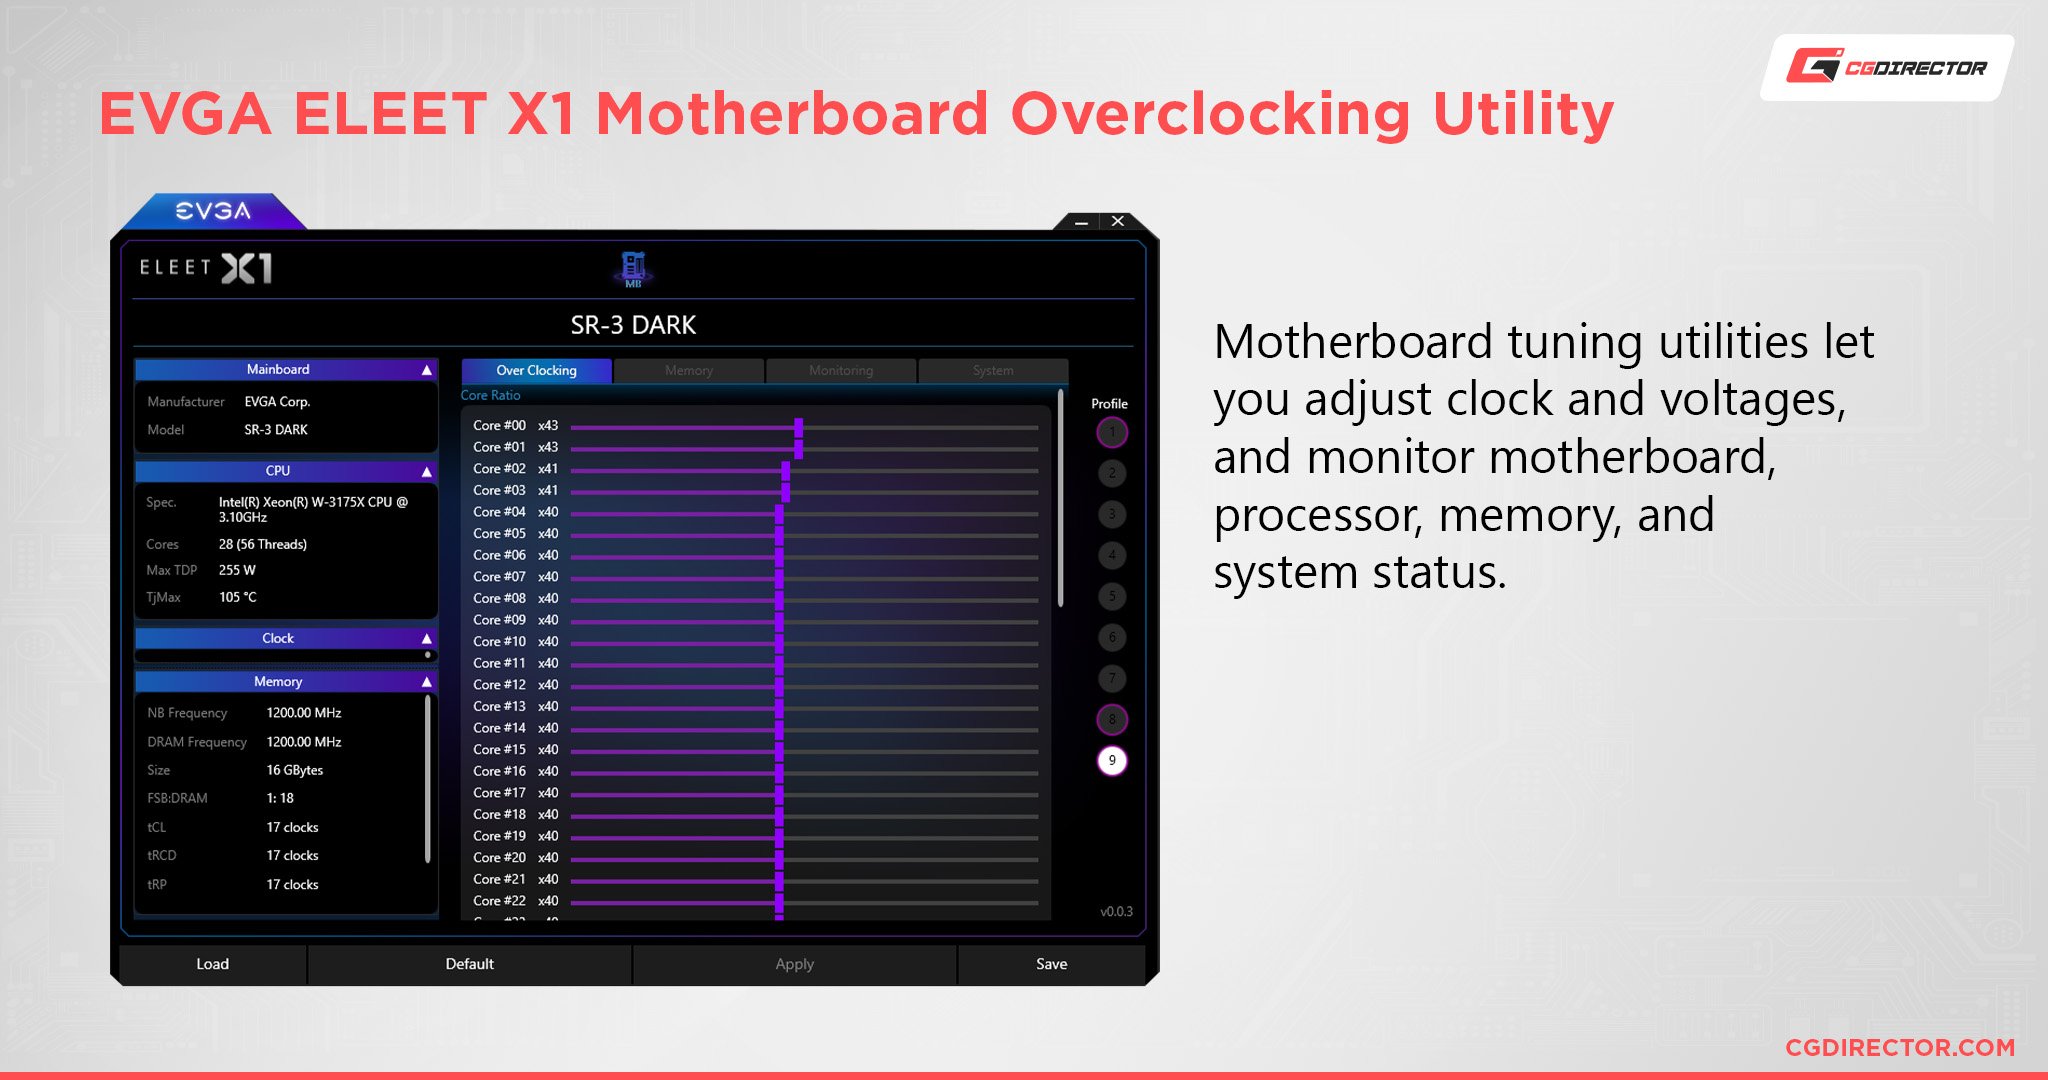
Just remember, if you’re going to be tampering around with overclocking, don’t skip the stress test section of this piece. More on that later.
Some CPUs and Motherboards have a set-it-and-forget-it kind of overclock- or rather boosting option: For example, many AMD CPUs come with something called PBO (Precision Boost Overdrive) which is a straightforward way to squeeze out some extra clock speeds & performance from your CPU if the cooler and motherboard are up to the task.
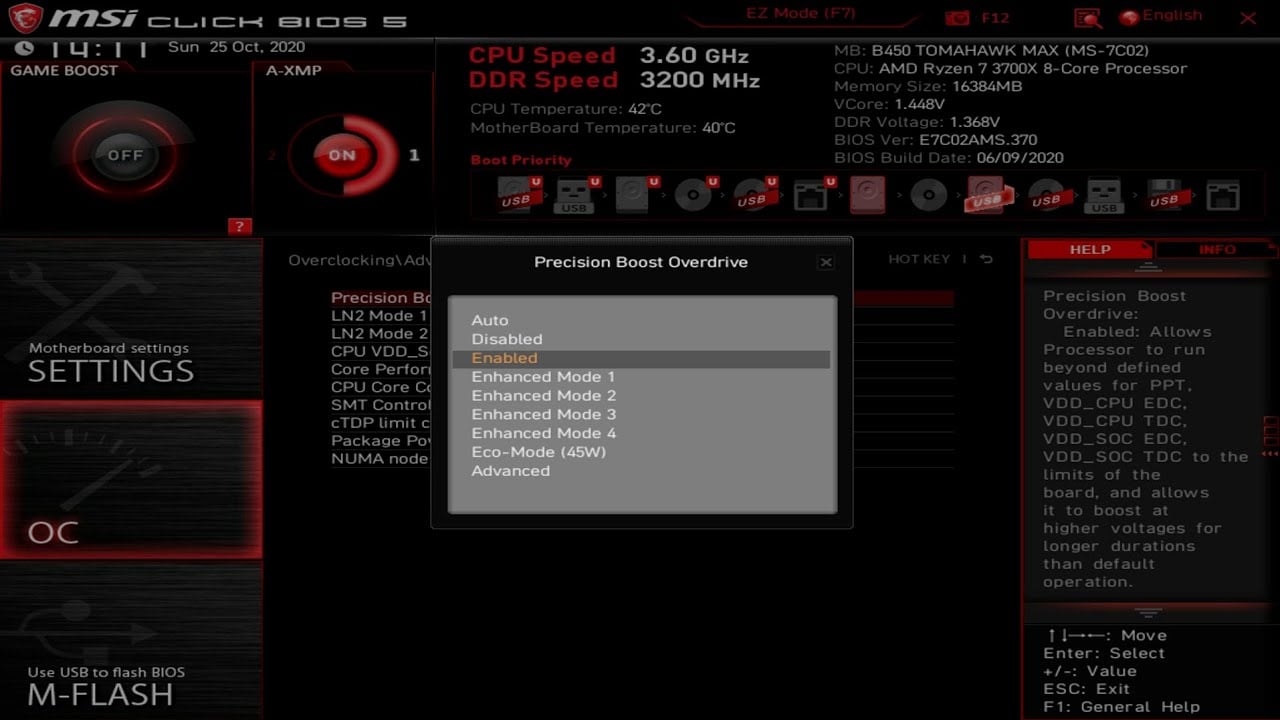
Use such features at your own risk.
Install an Operating System (OS)
You’ll need an Operating System to get past those hacky startup boot routines and actually use your PC productively.
These days, the vast majority of users that build custom PCs opt for Windows operating systems. More precisely, they opt for either good old Windows 10 (as weird as this might sound) or Windows 11.
Linux distributions are getting a fair share of traction too, with the likes of MX Linux, Manjaro, and Linux Mint being the most popular distributions.
Installing an operating system on modern-day hardware isn’t rocket science- at all.
If you’re undecided on which OS to pick, chances are you’ll want to go with either Win10 or Win11 for maximum compatibility with most applications on the market.
Here’s a quick guide to Installing Windows 10 via USB:
Windows Update | Now or Later?
Although Windows Updates are dreaded and often screw up a running system, if you’re doing a fresh installation, I recommend installing all available updates right away.
Updates become especially problematic when you already have a running system with a bunch of Applications installed and configured just the way you like them. This is where updates often come out of left field and greet you with incompatibilities and blue screens.
When doing a fresh install, this is rarely the case. If you have internet access during the installation, get all of those updates right away!
Install any missing & latest Drivers
Although Windows 10 and Windows 11 automatically detect and install the vast majority of necessary drivers, they don’t always pick the best possible drivers. And: Your OS might not install drivers for some of the devices it did not recognize, at all.
I recommend (re-)installing at least your discrete GPU drivers from AMD or Nvidia (and their accompanying Software if you need it) and the Motherboard Drivers especially if it has some non-standard features like Wifi or Bluetooth.
Download any drivers you want to install manually from the corresponding manufacturer’s website to get the latest version (don’t use any CD/USB drivers from the product packaging as those can be outdated)
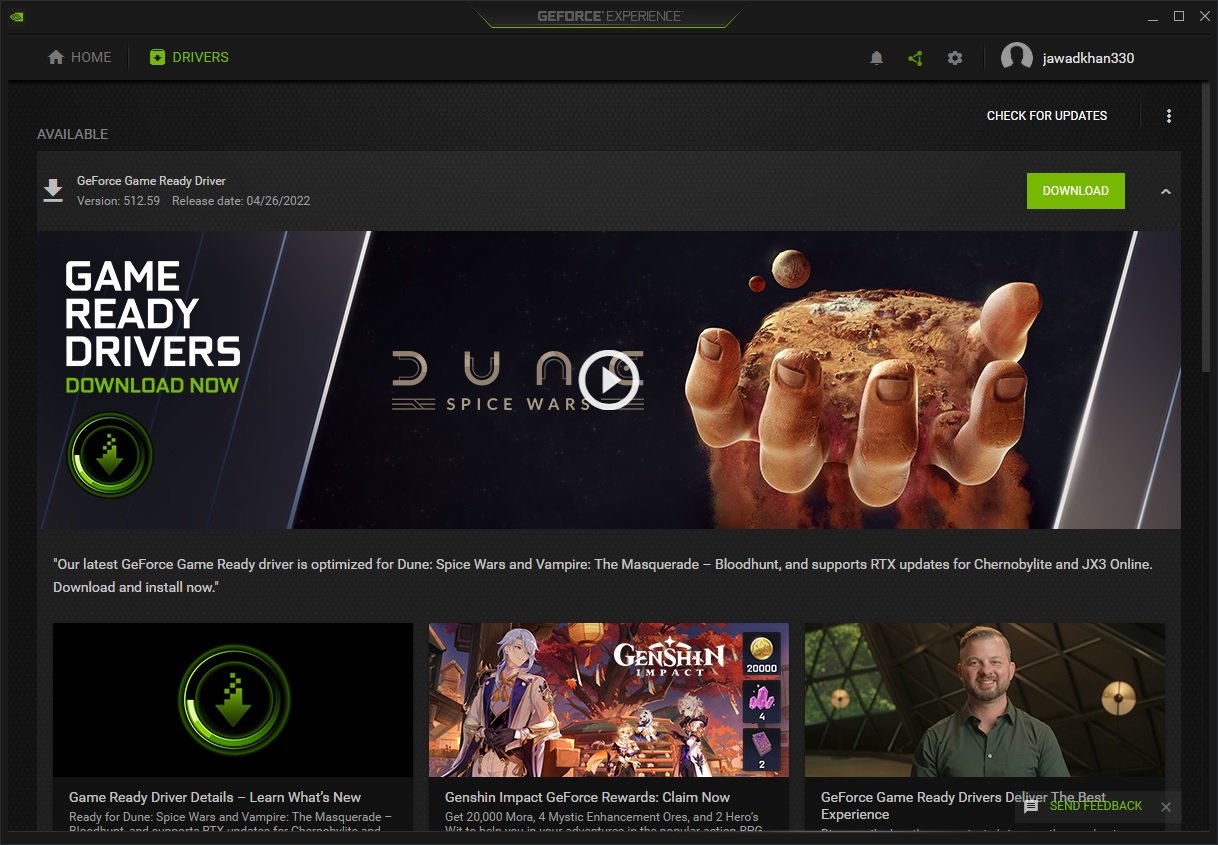
Some Driver installers won’t just install the drivers but keep them updated and even optimize your gameplay and applications as well as possible. Such Updater-Software is practical, but there’s a fine line between practicability and having too much compounding bloatware that might slow down your System.
I like to periodically check for driver updates manually myself, but that’s just me.
After you’ve had your PC running for a few minutes with an active internet connection, do check your device manager to see if Windows had any trouble finding drivers for some of the devices and install those manually.
Bonus & optional: Similar to graphics drivers and accompanying software, if you’re running an AMD CPU, the Ryzen Master Software is something you should install to be able to switch between CPU Modes, check up on temps, and clocks and control your overclock settings.
Check Internal Temperatures
After a cursory check inside of your PC’s Case to see if your Case Fans and CPU Fans are spinning, you can fire up a Hardware Monitoring software like HWMonitor that lets you assess both fan speeds and temperatures.
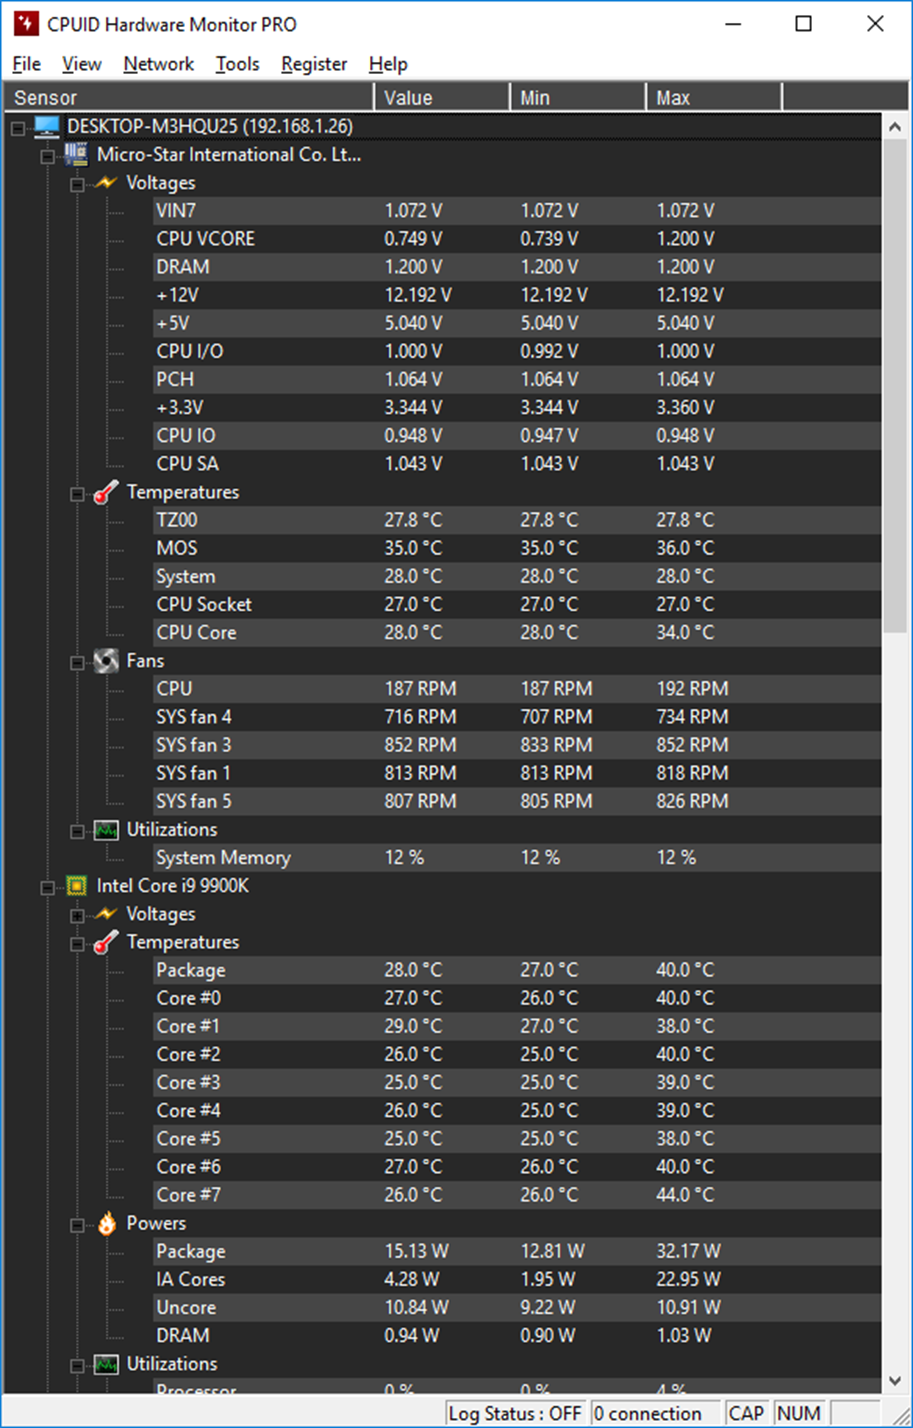
If your temperatures are too high you might want to do a physical checkup, adjust your fan curves or check your cooler and thermal paste.
Here’s what temps your CPU, GPU, and Motherboard should be at, and this guide will teach you how fast your CPU Fan RPMs should be.
Install Crucial Programs
Even though Windows 10 and 11 come with many of the necessities pre-installed, there are still numerous applications/programs that users simply cannot live without.
- A proper Browser like Brave, Chrome, or Firefox
- An E-Mail Client such as Thunderbird
- A proper Video Player like VLC
- Any Applications you need for work or fun
- An Antivirus and Firewall Application (though many just use Windows’ inbuilt Defender)
- File Compression tools like 7zip or Winrar
- A proper File searcher such as “Everything”
If you’ve just finished building a PC, you’ll probably want to install (some of) these programs, and, there’s a quick and easy way to do that all at once.
Ninite
Ninite is the best service for installing programs in bulk.
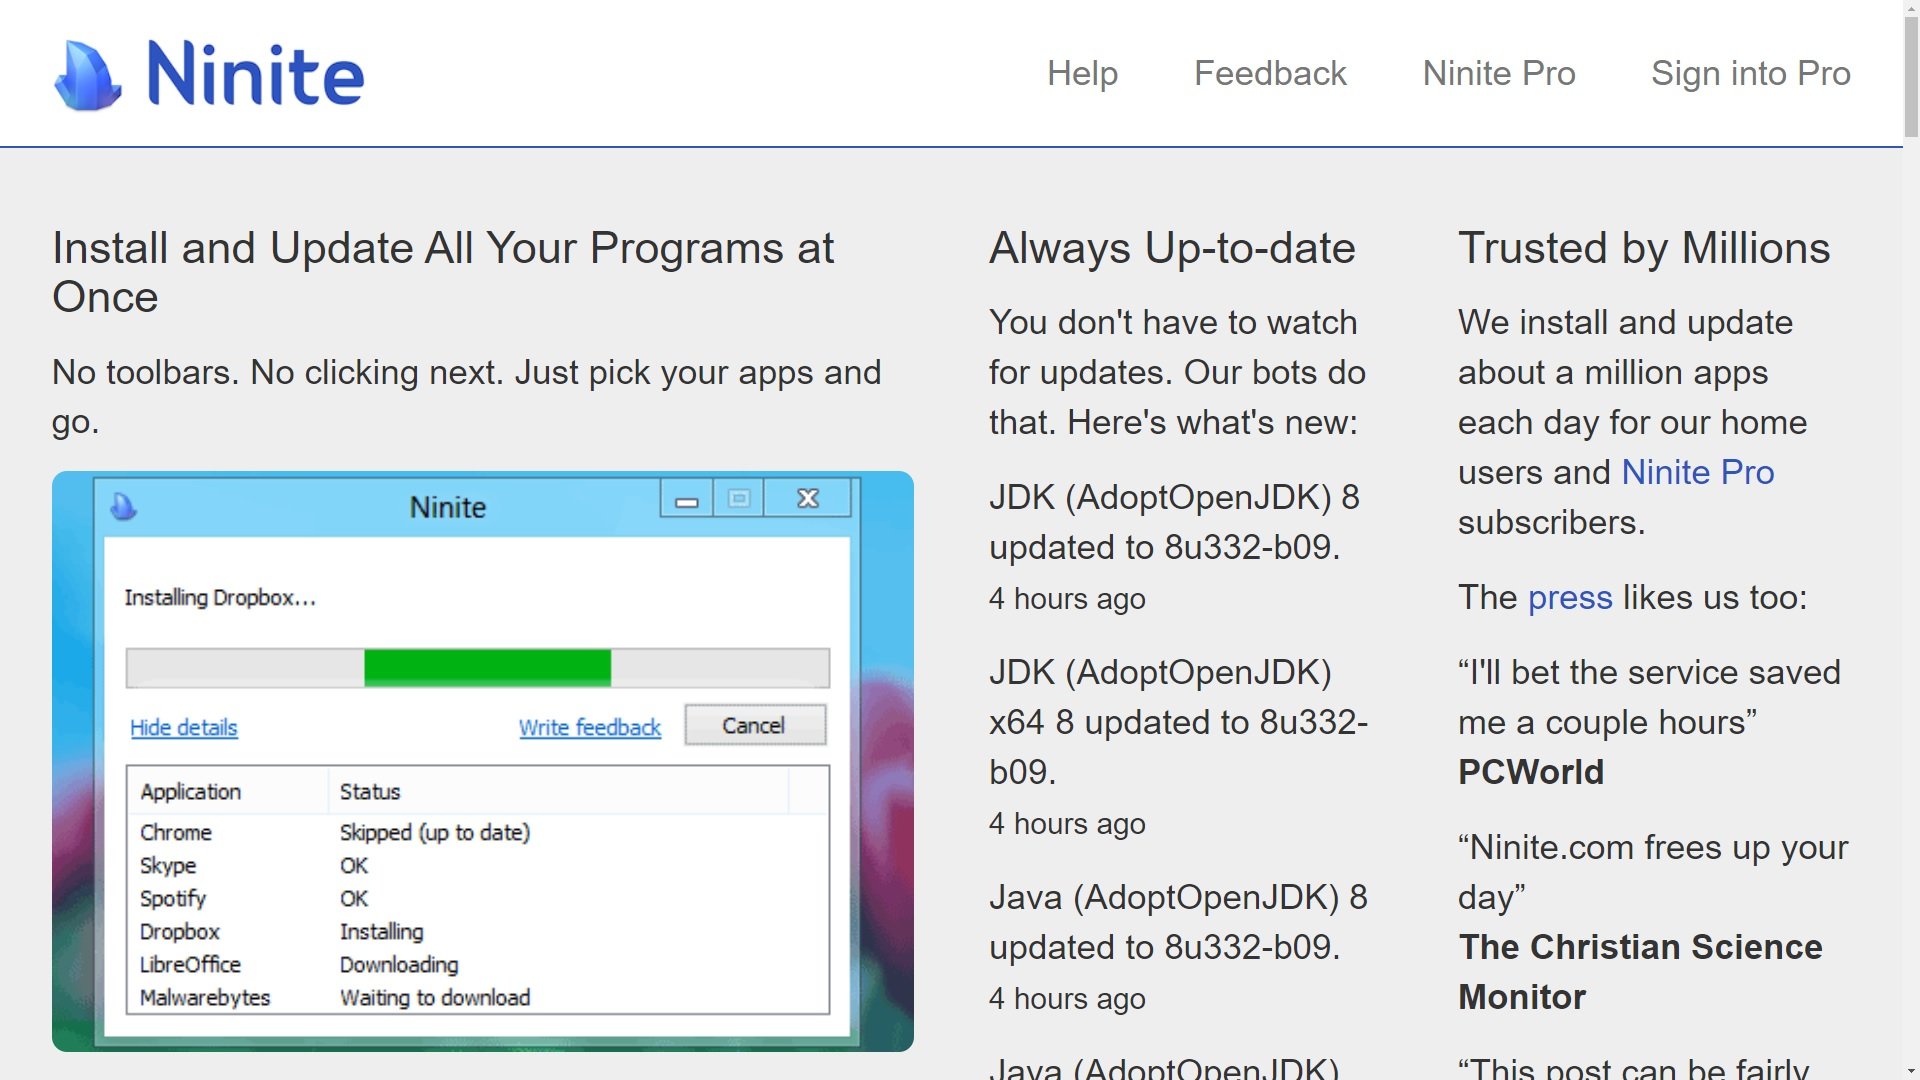
It has a fine variety of applications, ranging from browsers, messaging apps, media players, runtimes (Java, .net, Silverlight), and image editors all the way to compression apps, online storage platforms, and more.
If you want a quick way to install all the applications you’ll need right off the bat, head over to Ninite, select the apps you want to install, and download the ready-made package.
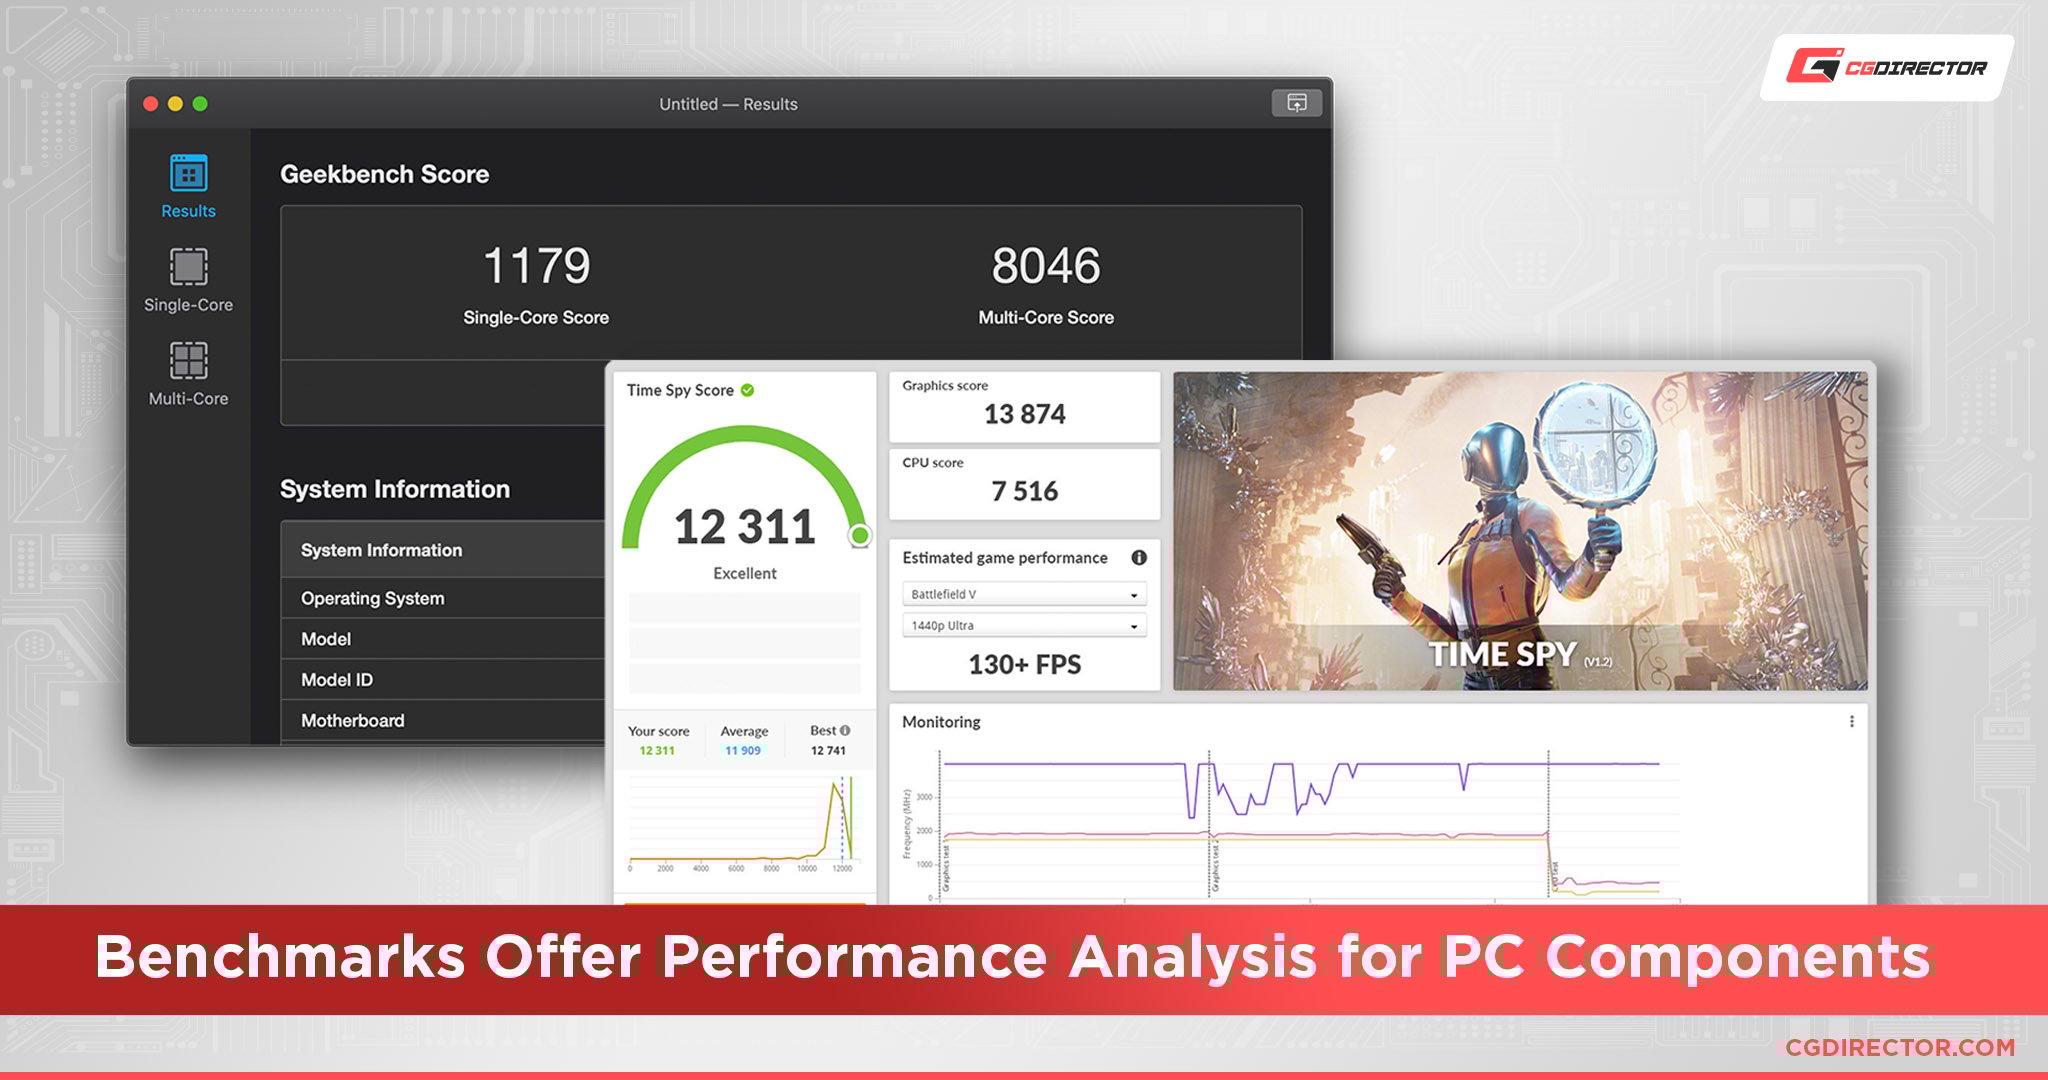
Benchmark Your New System
Now that you have everything up and running, including some of your go-to programs, it’s about time you put some load onto your newly built & acquired beauty.
There’s no better way to check if every one of your PC components is performing as it should than with a couple of quick and fun benchmarks.
Here’s what I run after a fresh Windows install:
- Cinebench R23 to gauge CPU multi- and single-core performance
- Octanebench to check if my GPU is performing as it’s supposed to
- Chrystal Disk Mark to see if my storage read / write speed has any issues
Not only are they going to showcase your rig’s true performance, but they will also stress test it (more on that later on) and allow you to compare the results to other setups using the same hardware. If you’re scoring the same, all’s good. If your scores are considerably lower than comparable systems, some troubleshooting might be required.
A ~7% difference to the average score of comparable components should be allowed (as you can always have different coolers, chip binning, etc.) but anything below that should be inspected more thoroughly.
Stress Test Your New System
Although stress-testing is optional, it’s advised for a couple of reasons:
- You can check your temperatures under load
- You can check if your overclocks are stable (if you have any)
- You can check if the fan noise levels under sustained load are reasonable
- You can check your max power draw, which helps ballpark your yearly energy costs
Cinebench is the go-to CPU stress test tool for the vast majority of PC users. It pushes your processor to its limits, mimicking real-life applications and determining whether or not it’s stable under heavy loads.
Of course, the CPU is only part of the equation. If you want to extend stress testing to your RAM, MemTest86 is a great option.
PassMark’s RAM tester will uncover any issues with your RAM. You can get MemTest86 here.
Some of the most popular benchmarks for GPU stress-testing are Heaven and Valley by Unigine. Igor has a great guide on proper GPU stress-testing.
Conclusion
This leads us to the final step along the way – start using your new rig!
If you’ve carefully gone through all of the above steps, you’ll be all set.
No matter if you’re planning on using your new rig for gaming or professional workloads, chances are high your experience is going to be exceptional 🙂
Newly built computers are a thing of beauty, and if you’ve spent a premium on top-notch hardware, the performance will sweep you off your feet.
FAQ
How do I start my PC after building it?
During the assembly of your PC you’ve hooked up your Front Panel cables to your Front-Panel connectors on your Motherboard.
This now allows you to start your PC through the on/off button on your PC Case.
How do I enter BIOS on a new PC Build?
You can enter BIOS by repeatedly hitting the F2 or DEL key on your keyboard. Make sure your Keyboard is hooked up to a USB 2.0 port, as USB 3 or newer ports might not work out of the box.
Over To You
That’s about it for our list of things everyone should do after building a PC.
Have you just recently finished a build and are having trouble with some of following steps? Leave a comment below or on our forum and let me know of any questions.
![Should You Build a PC? [7 Great Reasons]](https://www.cgdirector.com/wp-content/uploads/media/2023/11/Should-You-Build-a-PC-7-Reasons-For-Building-a-PC-Twitter-594x335.jpg "Should You Build a PC? [7 Great Reasons]")
![Is GIGABYTE a Good Brand? [2024 Update]](https://www.cgdirector.com/wp-content/uploads/media/2023/07/Is-GIGABYTE-a-Good-Brand-Twitter-594x335.jpg "Is GIGABYTE a Good Brand? [2024 Update]")


0 Comments